To complete a Workshop Credit, this first must be produced within: Workshop > Invoicing > Produce Credit, you can search for existing credits that have been raised.
Once you have searched for the desired credit, you will be able to view the Credit, as you would a standard Invoice. Here you can add the values that you need to credit back.
Enter the invoice hours to be credited or alternatively use the ‘Fixed Price’ option
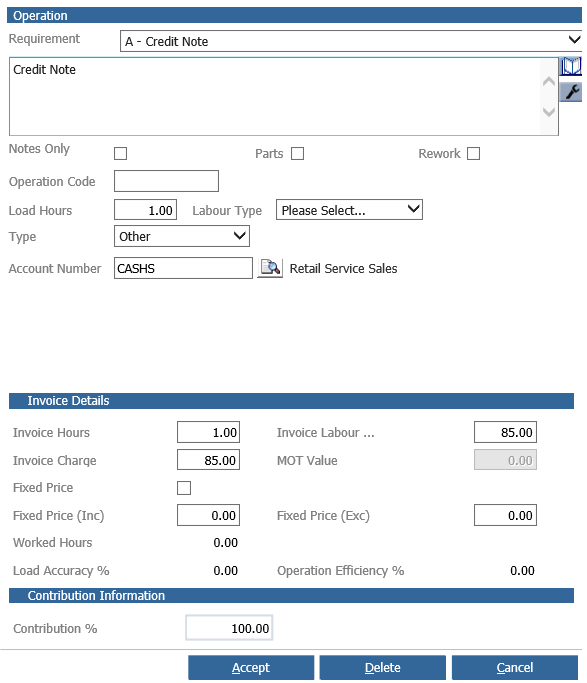
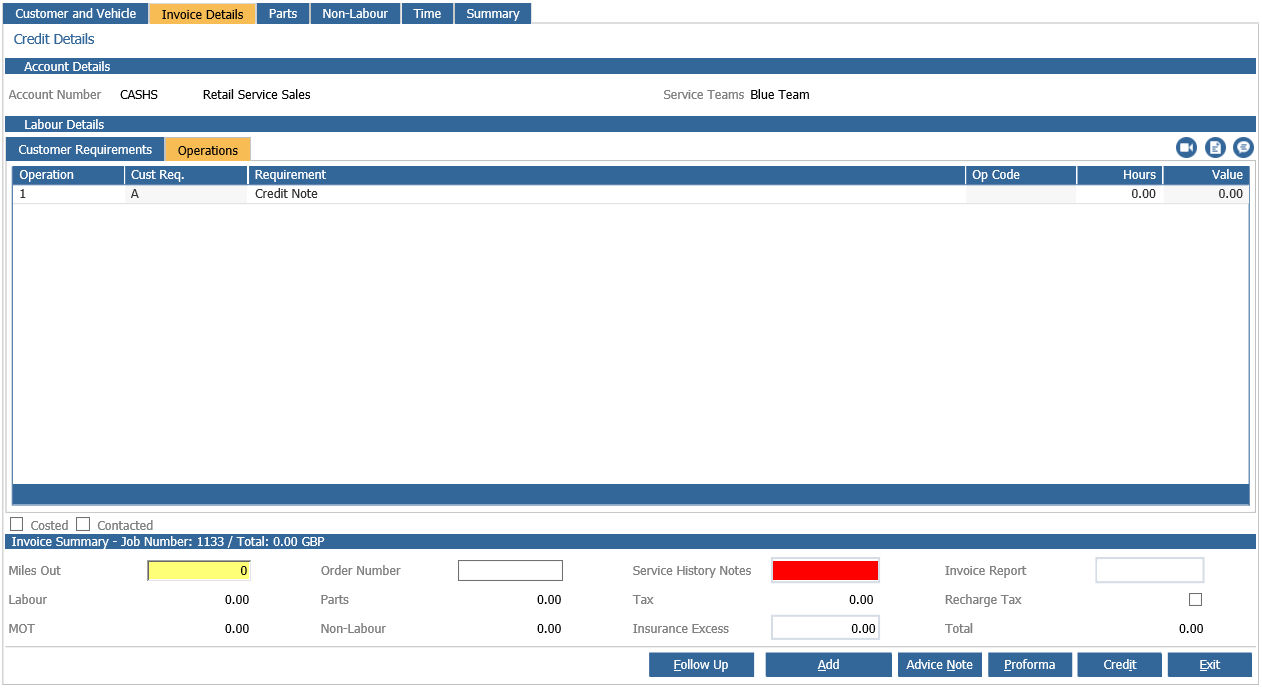
Select ‘Accept’ to return to the ‘Credit Details’ screen. Complete the mileage and service history fields then select the credit option to finalise the credit process.
If the sales ledger account that the credit is being raised against is set as a cash account the ‘Cash Payments’ window will show.
From the ‘Type’ drop down menu select the payment method. i.e. Cash, Card or Cheque, then select the ‘Add Payment’ button, this will move the payment to the upper part of the screen.

If the incorrect payment method is selected click the ![]() icon to remove the payment line. Select ‘Accept’ to confirm the payment.
icon to remove the payment line. Select ‘Accept’ to confirm the payment.
Note: When creating a credit the ‘Payment Method’ denotes the method that the money will be paid back to the customer.
Alternatively if the sales ledger account selected is a credit account the value will automatically credit
Select ‘Accept’ to complete the process and produce the credit.
This will complete the credit with the same stages as with Producing an Invoice and will prompt you to Print.
If you are using the Enter Invoice Hours After Invoice Parameter, the Credit will need only the sold hours and the revenue entered. The Hours Worked and Awarded should be left blank.
You can also view a copy of the credit within: Workshop > Reporting > Repair Order Register.