
Select Workshop > Invoicing > Produce Invoice from the side menu, enter the
appropriate detail and select ‘Search’
The ‘Invoice Details’ screen will display.
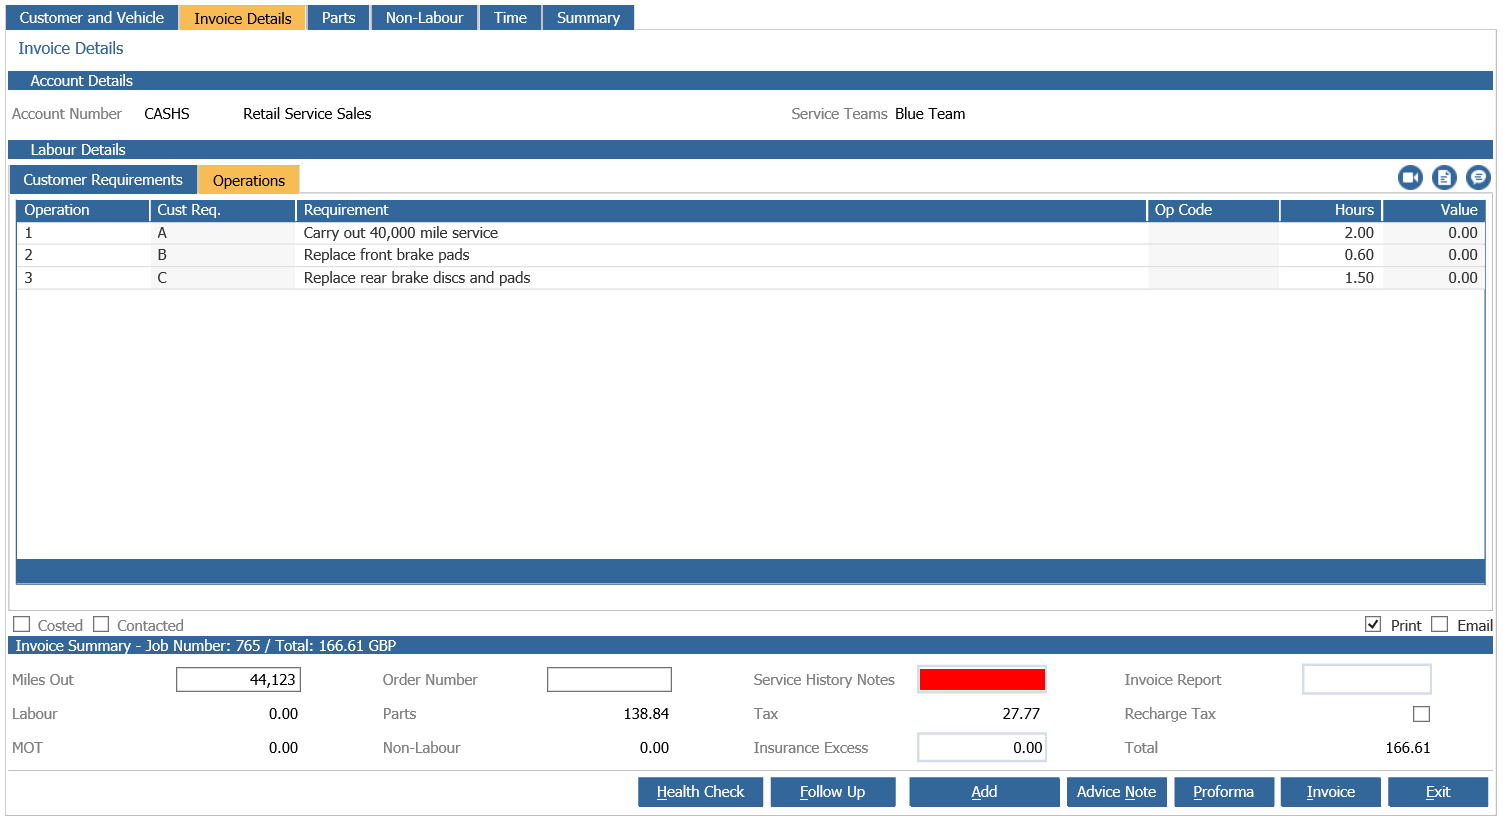
Cost each operation as required. Complete the ‘Mileage’ and Service History Notes’ fields.
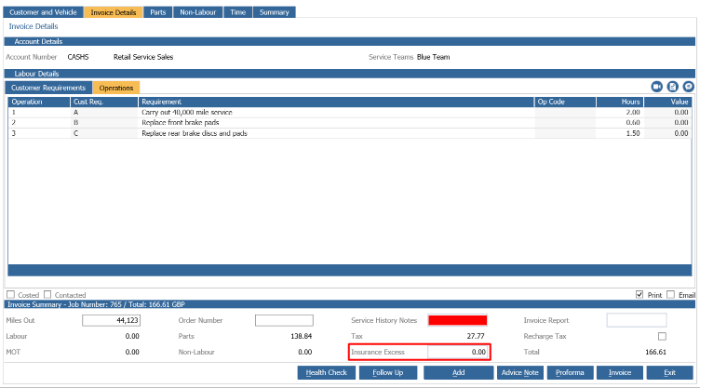
Select the ‘Insurance Excess’ field to open the following window.
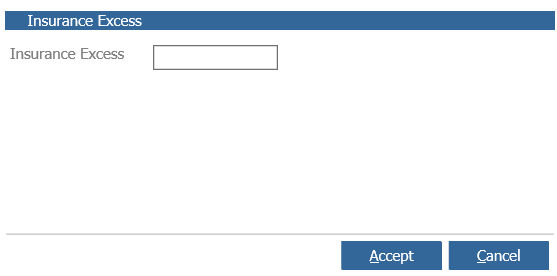
Enter the ‘Excess’ value and select ‘Accept’.
The ‘Insurance Excess’ field in the summary section will populate.
Select the ‘Invoice’ button to open the following pop up.
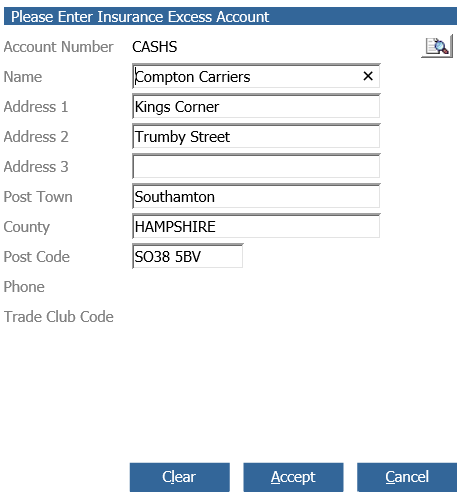
If the account number and customer detail are correct select ‘Accept’ or select the Account
Number search icon to open the ‘Account’ search window.
Note: If the default cash account is selected the name and address fields are active enabling
a different customer name and address to be free typed.
To change the account that the excess is to be invoiced to select the search icon located in
the upper right hand corner and enter the account name or number of the correct account.
Double click on the returned result to select the account.
The account field is now populated with the account name.
Select ‘Accept’ to process the invoice. If the account that excess is being charged to is set as
a cash account the ‘Cash Payments’ window will open. If the account is a credit account the
‘Cash Payments’ window will not display.
From the ‘Type’ drop down menu select the payment method. i.e. Cash, Card, Cheque or
Cash on Delivery (the cash on delivery option can be activated in parameters).
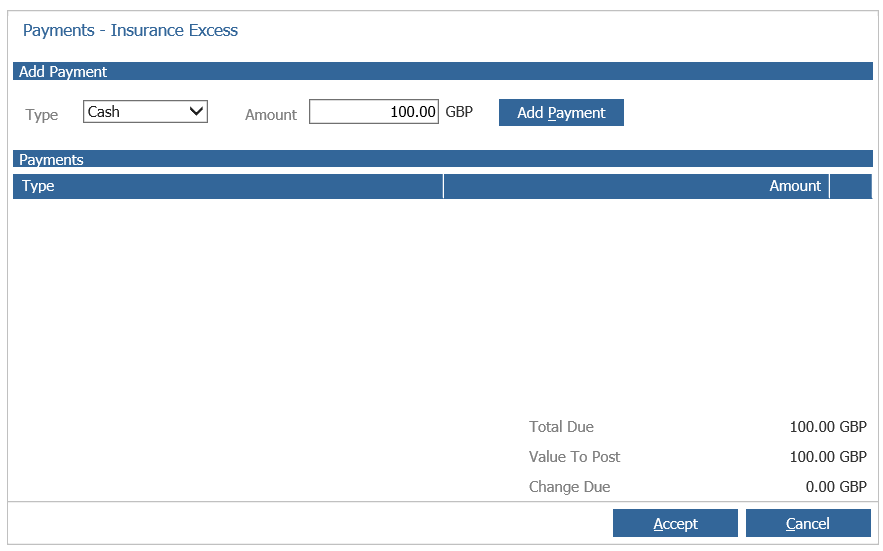
Note: If the payment method of cash is selected enter the total value of cash tendered and
select add payment. The change field will be populated with the value of the change to be
given to the customer
Note: If an incorrect payment method is selected click the  icon to remove the payment
line.
Select ‘Accept’ to confirm the payment.
The invoice to the insurance company and the excess invoice to the customer are produced.
Note: Once you have started the invoice process, you will not be able to cancel from the screen, you must complete the payment screen.