The Commercial Diary is utilised where a twenty four hour per day Workshop or one that operates shift patterns is in operation.
The Commercial Diary parameter in the General 2 Tab within the Parameters section will have to be enabled prior to setting up any the Commercial Diary.
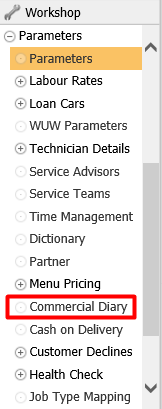
Select Workshop > Parameters > Commercial Diary from the side menu.
Shift Tab
To set up a shift select the ‘Add’ button to display the ‘Shift Parameters’ section.
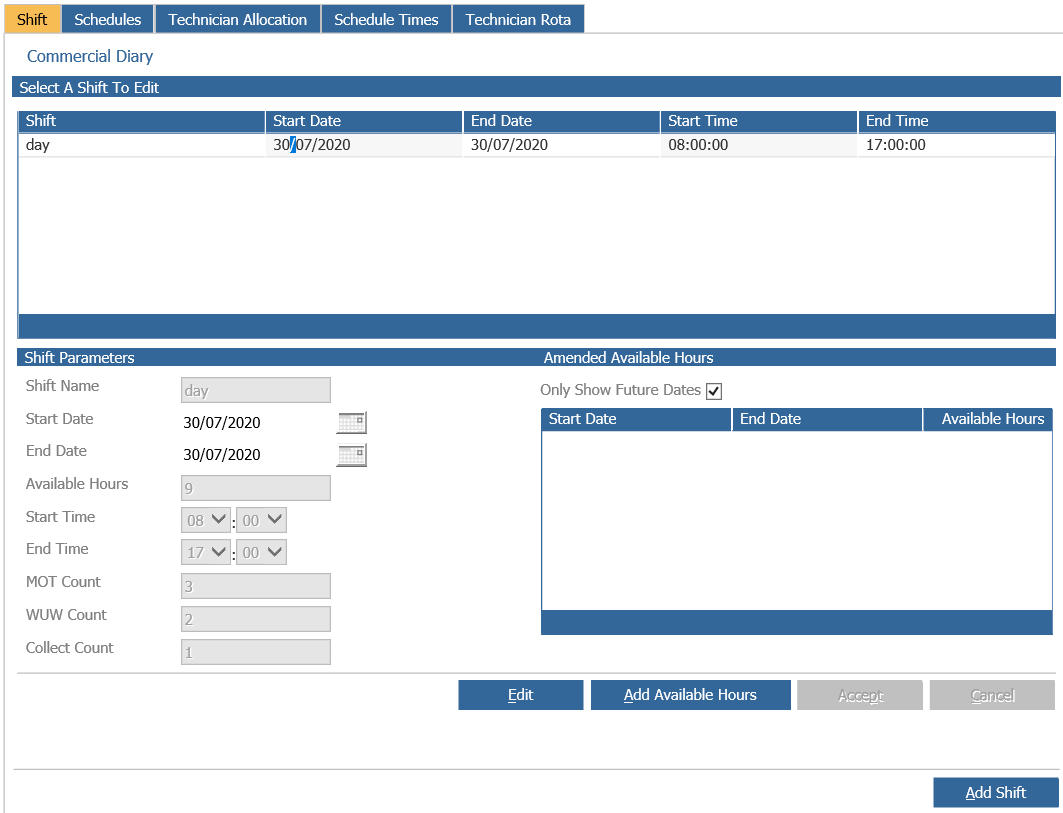
The ‘Shift Parameters’ section contains nine fields.
• Shift Name: An entry into this field will be displayed within the Commercial Diary.
• Start Date: This field determines the date at which the shift becomes available.
• End Date: This field determines the date at which the shift becomes unavailable
• Available Hours: The value entered into this field is used to calculate the available hours for the shift in the commercial diary. This information is used in conjunction with the technician productive hours if the diary is being driven by the technicians. I the technician parameters are being used to calculate the available hours this parameter is set to 0.00.
• Start Time: The start time of the shift is determined within this field.
• End Time: The end time of the shift is determined within this field.
• MOT Count: The value entered into this field determines how many MOT’ slots are available per shift. This information is used in conjunction with the MOT information held against the technician. This field is often 0 when the diary is being driven by the technician parameters.
• WUW Count: The value entered into this field determines how many WUW slots are available per shift.
• Collect Count: The value entered into this field determines how many collection and deliveries are available per shift.
Schedules Tab
Select the schedules tab to display the following information;
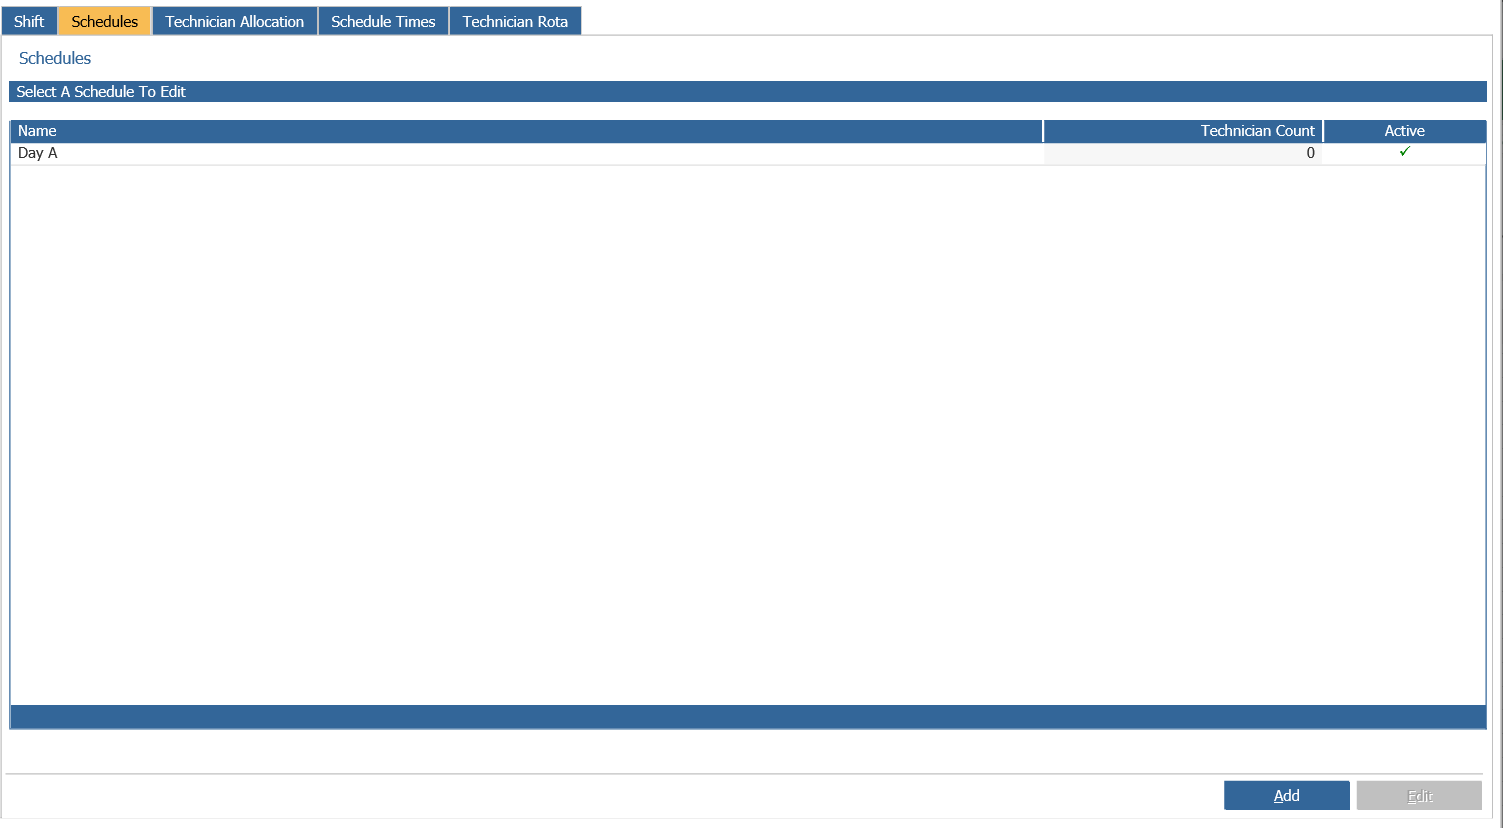
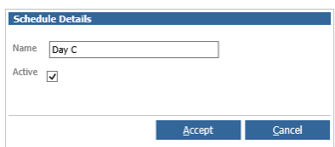
Select add to create a new schedule, enter the schedule name and mark it as active.
Note: Schedules can be de-activated by selecting edit and removing the tick from the active field.
Technician Allocation Tab
Allocating Technicians to a schedule.
The allocation process is used when the available hours that are displayed in the diary are to be taken from the technician that are working on the specific shift. Select the Technician Allocation tab and double click on the shift to be updated.
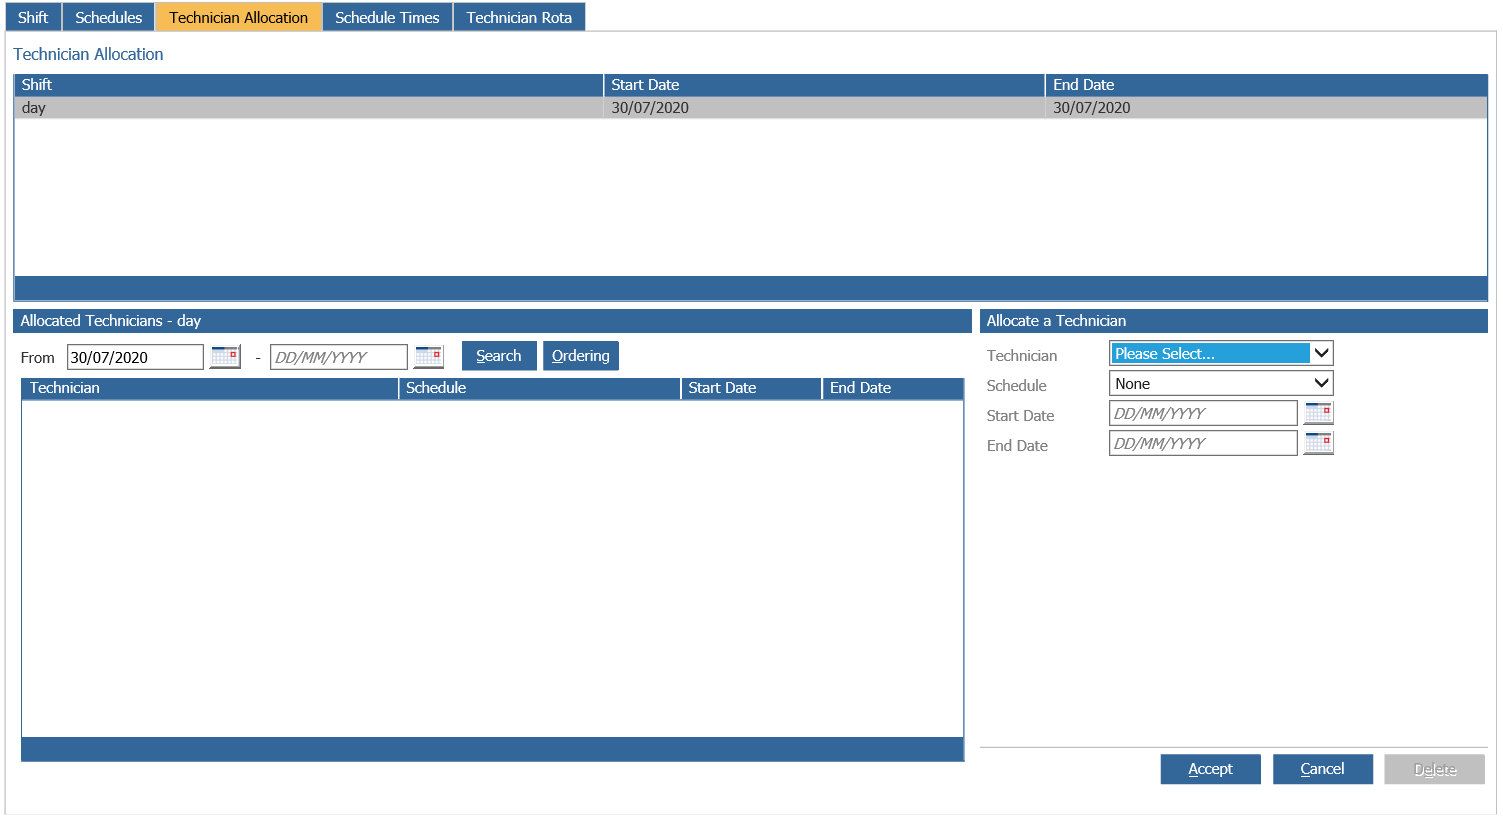
To allocate a technician select the technician from the drop down menu within the Allocate a Technician section of the screen, then select the schedule to which the technician is to be assigned to (only active schedules will be displayed within this drop down menu).

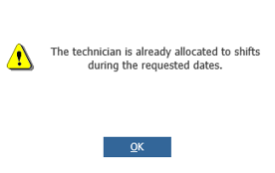
When saving the information the system checks to see if the technician selected is already attached to a shift for the selected time frame, if they are the following message is displayed.
The system will also check the technician’s rota, if the technician already has a rota for the selected time frame and the rota has been manually amended, you will be asked if the amendments are to be retained or to be cleared?

Clearing the amendments will use the new schedule information.
Scheduled Times Tab
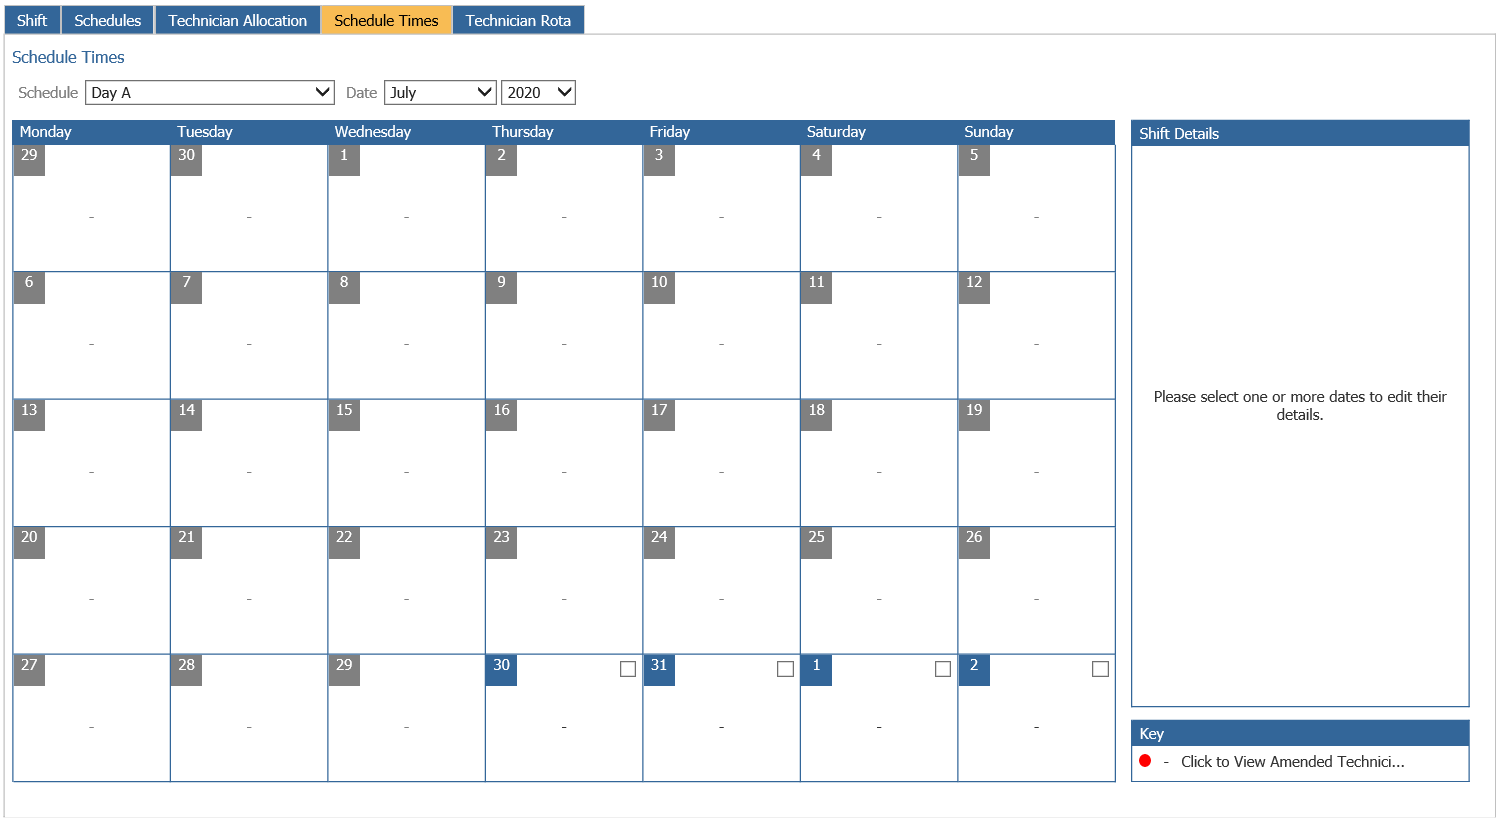
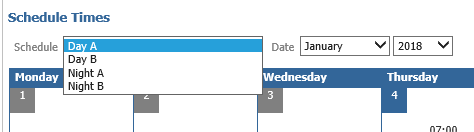
From the drop down menu at the top of the screen select the schedule and date that the start and end times are to be set up for.
The next stage is to select the days to update, once the days are selected enter the start and end times for the selected dates.

Once the accept button is selected the changes are saved, the schedule is updated and any technicians rota’s attached to the schedule will also be updated.
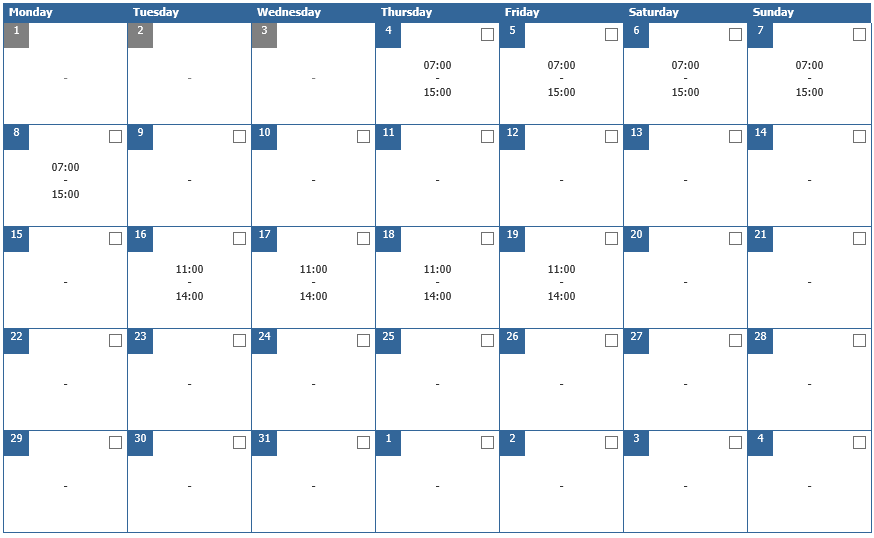
The clear button will clear the start and end date making the day a non-working day. If a day has been cleared any technicians attached to the highlighted date range will have their rota updated unless any manual amendments have been made.
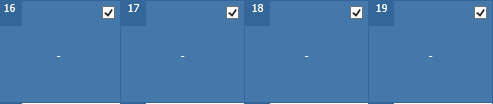
If the schedule has been manually amended in the technician rota tab a red dot will be visible in the lower right hand corner of any effected dates. To view the technician details click on the red dot.

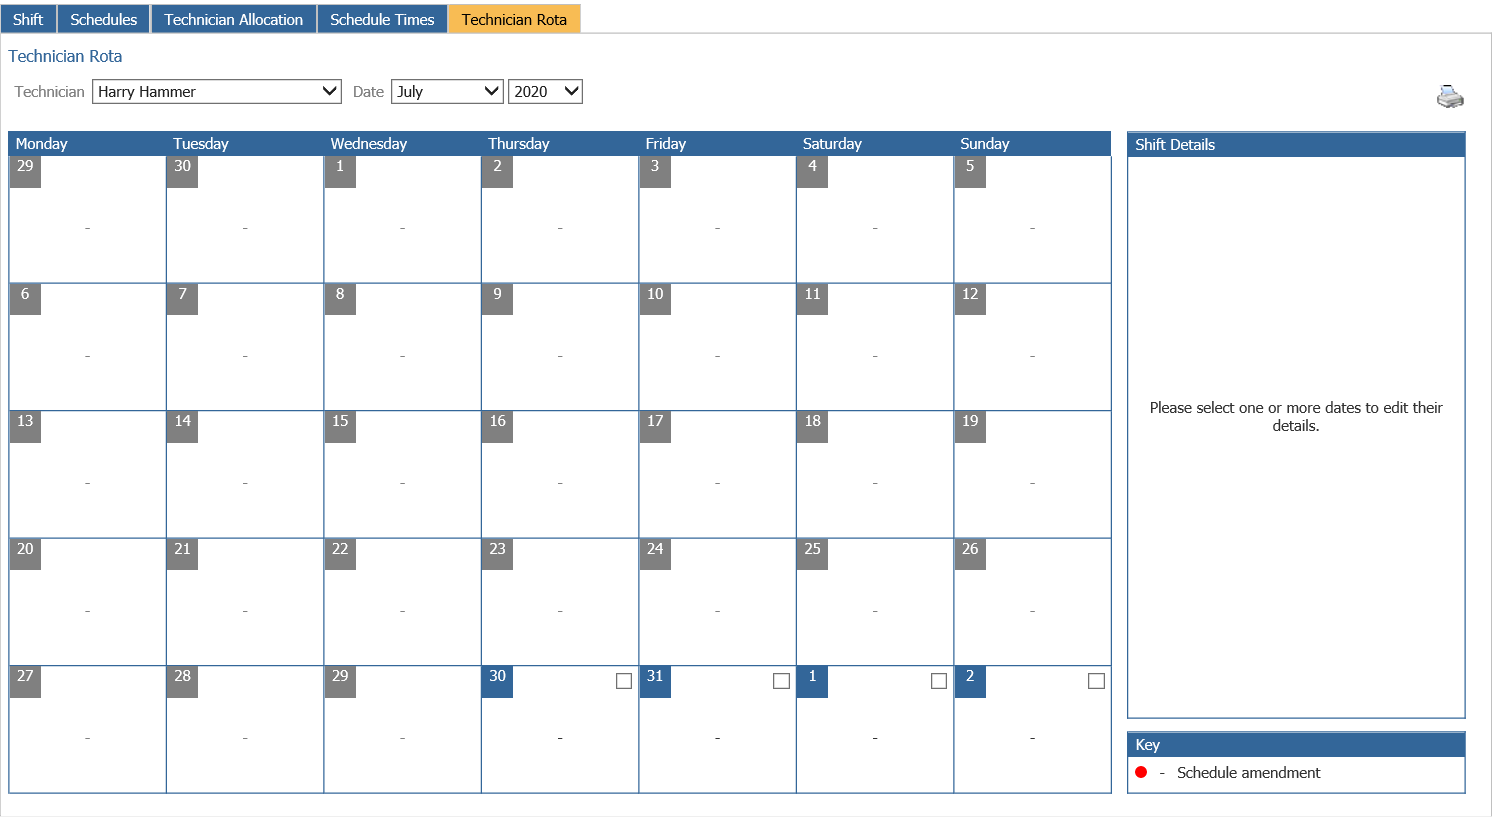
Technician Rota Tab
Once a technician has been allocated to a shift and schedule a rota will be generated for them to view the rota select the technician rota tab. When first entering the technician rota tab there is an option to print the rotas for all technicians at the same time alternatively select the technician and the month to view their individual details.
Manual amendments to the rota can be made by selecting the date or range of dates and entering the new start and end times, the start and end times can also be cleared by highlighting the days and selecting the clear button. Manually amended date will by identified by a red dot in the lower right hand corner of the day. To view details of the amendment click on the red dot. If selected there is an option to revert the schedule back to the normal scheduled times.
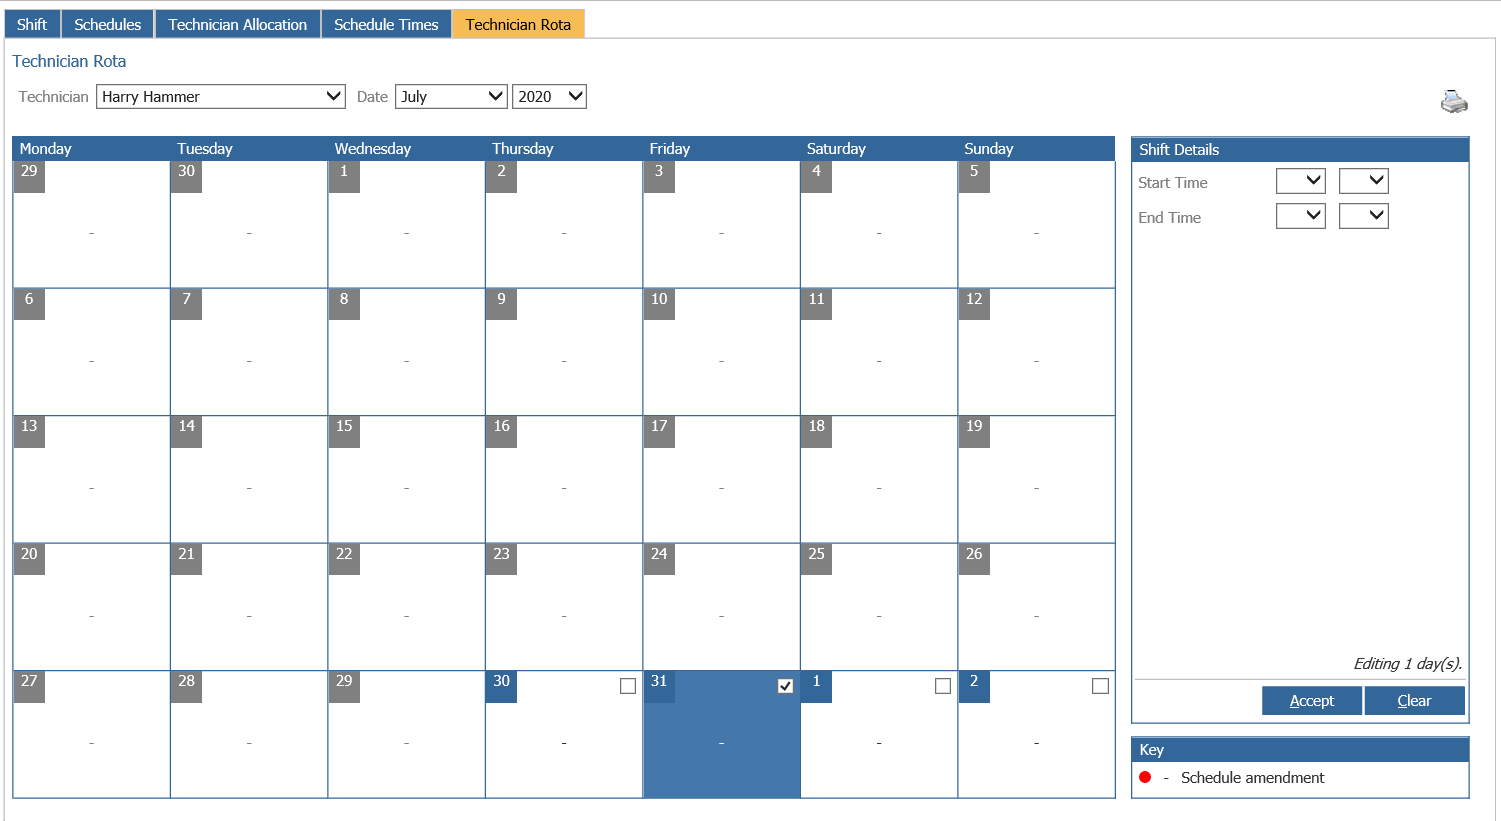
The rota can be printed for the technician by selecting the print icon  located in the upper right hand section of the screen.