The nominal ledger consolidates all transactions from the sales ledger, purchase ledger and cash book and combines these with the activities from the Vehicle module to produce the reports necessary for the overall management of the business.
The nominal ledger will produce the Profit and Loss, Balance Sheet and Trial Balance reports together, with the required VAT analysis.
As-well as Manufacturer Composite reports, bespoke Management Reports may also be produced in the system.
The nominal ledger consists of two levels allowing consolidated reporting up to Enterprise level.
These two levels are known as Master and Transaction levels with values being held at the Transaction level. They consist of a number of accounts, which represent all of the financial activity of the business. This is divided into two areas, the Profit and Loss – which details the income and expenditure of the business in both monthly and year to date totals and the Balance Sheet – which shows the financial position of the business as a summary of all of the assets and liabilities.
The nominal ledger set-up must be completed before using the system for the first time.
Plan the layout required for the ledger and if necessary take advice from external auditors. It is important to consider reports that may be required for the manufacturer such as dealer composite and any dealership management reporting requirements.
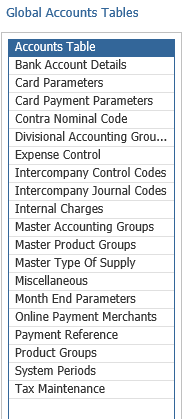
To access the Nominal Ledger parameters, select:
Accounts > Nominal Ledger > Ledger Parameters.
Once this option has been selected from the left hand menu, select the current accounting period on the pop up screen.
Select the Parameters tab at the top left hand side of the Parameters screen to see the remaining parameters to be completed.
Bank Account Details
Multiple bank accounts can be created. This allows the transfer of values between the bank accounts via the Cashbook – Transfer routine.
When creating bank accounts, a nominal ledger code is required for each bank account which should be linked into the Bank Account Detail parameters.
Once a nominal code is associated with a bank account, this code will not be available for direct nominal journal postings.
To create a bank account, select Divisional Bank Accounts from the left hand menu. Double click on the division the bank account is for and click Add at the bottom right hand side of the screen.
Bank
Complete the Bank Account Name, i.e. Lloyds Bank – Current Account.
Account Holder Name
Future Use (International Bank Transactions)
Account Number/Sort Code
Enter the Bank Account Number and Sort Code
IBAN/BIC
Future Use (International Bank Transactions) When populated a sort code and holder name are not required.
Nominal
Double click on the search icon and enter the bank account nominal code or code description to search for the account and then double click on the nominal code to populate the nominal field on the Bank Details parameter screen.
Consolidate Automatic Payments
If this account (cashbook) is to be used to process BACS payments, then tick the BACS field. This will allow the creation of a BACS file for suppliers flagged for BACS payments in the Purchase Ledger Accounts Maintenance screen.
Cheque Type
If pre-printed cheques are to be used, then the relevant cheque type should be selected.
Direct Debit
If this account (cashbook) is to be used to process Direct Debits, then tick the Direct Debits field, enter the Direct Debit Originator Reference and select the Direct Debit Format from the dropdown list. Direct Debit files can then be produced from Cashbook processing so that these can then be submitted to a payment service. These details will take precedent over any DD details set up in Sales Ledger Parameters.
Default
If multiple bank accounts are being created, select one as the default account which will appear at the top of the list of bank accounts in cash book processing.
Save the bank account details that have been entered.
Card Parameters
These Parameters were previously used with the integrated chip and pin systems.
Card Payment Parameters
These will be completed by the Pinewood Implementation Team prior to Credit Card Integration being implemented at the dealership. Refer to the Pay+ Guide for detail information on set up and processing.
Contra Nominal Code
Enter a contra nominal code (Normally Suspense) to allow the use of the contra routine in accounts.
Divisional Accounting Groups
These will be completed once the Master Accounting Groups have been created as per the relevant section below.
Expense Control
Expense Control allows you to manage your expenses by putting them into various groups, examples of these groups would be things like Fuel, Mobile Devices, etc.
Intercompany Control Codes
The Intercompany Journals functionality allows for the creation of journals between multiple divisions. See the relevant section for processing details.
Intercompany Journals require that each division within the enterprise has an Intercompany Control Code.
Select the ‘Intercompany Control Codes’ option from the menu. A company structure will appear showing all divisions within the enterprise.
To set the control code for a division, double click on the required division and a master level nominal code search popup will appear.
Search for the nominal code to be set as the intercompany control code, select it and click ‘Accept’.
There will appear an additional node under the division detailing the selected code and its description.
The same process as described above can be used to amend the control code; the newly created code would then be used from that point forward.
Note:
- Open item and fixed asset nominal codes cannot be selected and the master nominal code selected must exist as a transaction nominal code at all other divisions for processing intercompany journals with.
- The Intercompany Control Codes parameter page is at Enterprise level so any amendments made at the division will affect all divisions within the Enterprise.
Intercompany Journal Codes
This allows the selection of any system user within the enterprise and a specific range of nominal codes available to them for the currently selected division. To create a code range for a specific user, select the ‘Add’ button. Search for the user and add the nominal code ranges to be accessed. The range can be amended for an individual by selecting them from the authorised users table and clicking ‘Amend’ or double clicking on their record in the table.
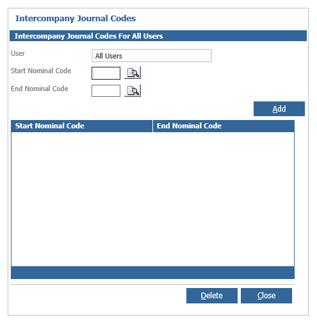
To delete a user, load the amend range popup using the steps described above, delete all ranges setup for them, click ‘Close’ and they will no longer appear in the authorised users table. It is also possible to transfer a range from one user to another. This may be useful when new starters in the dealership take on responsibilities of other team members.
To transfer the range, open the authorised user record for the team member you want to transfer the range from, click on the user field, search for and select the team member you want to transfer the range to. A popup will appear stating that the range will be transferred to the selected user - select ‘Continue’ and the transfer will be completed.
Once the process is complete the amend popup will be refreshed showing the selected user and their new ranges. This will be a merged list of the original code ranges set against the team members’ account and the ranges transferred. The user account you originally selected will now be removed from the authorised users account table as all code ranges will have been removed from their account.
The ‘All Users’ authorised users account, is a specialist account that cannot be deleted and will be available by default. Any code ranges added to this account will be made available for selection for every user on the intercompany journal screen as available codes to post to for the current division.
Internal Charges
An Internal Charges table is required for all Parts and Service departments. The table will appear when Parts or Service raise an invoice to INTER – Internal Charges and posts the costs to the specified departmental nominal account.
To create the Internal Charges table, select Internal Charges from the left hand table. Double click on the required Division, Branch and Department and then click ‘Add New’ in the bottom right hand side of the screen.

Enter the internal charge description. This does not necessarily need to be the same as the nominal code description, but should be a description for the Aftersales Department to select. Click on the search icon to select the relevant profit and loss nominal code for the charge to be posted to.
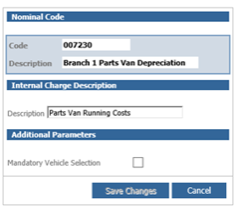
Save the details.
Master Accounting Groups
Within Nominal Ledger Parameters, Master Accounting Groups must be created to facilitate the completion of code mapping of the Divisional Accounting Groups.
Accounting Groups are used as an additional filter in Debtor and Creditor reports, Transaction, Turnover and Payment Due Reports, Statements and Remittances. Each Accounting Group has its own set of nominal codes which enables easier interpretation of debt and credit types when viewing the balance sheet.
To create a Master Accounting Group, select the option from the left hand menu and click ‘Add’.
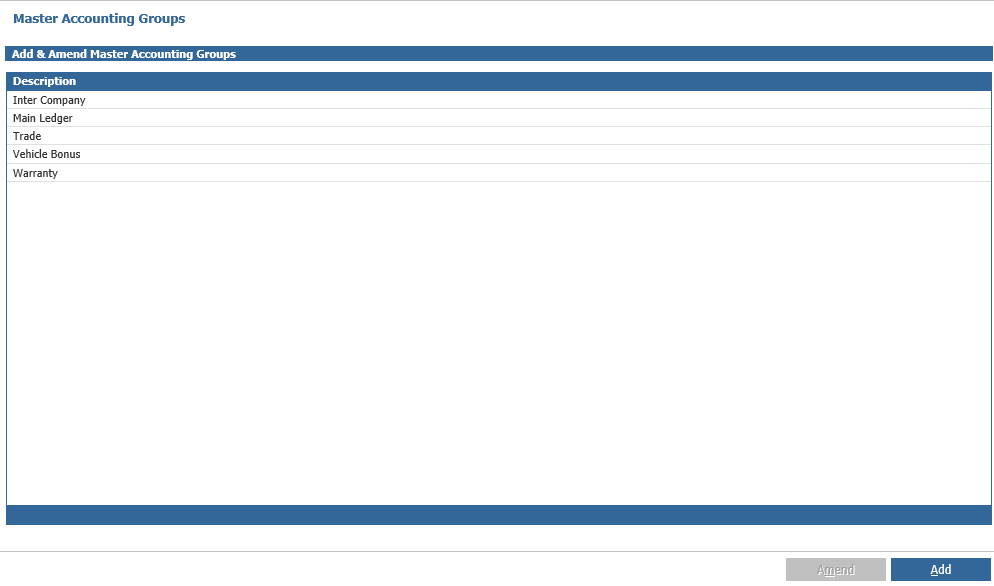
Enter the Accounting Group description and click ‘Add’.
Each Purchase Ledger and Sales Ledger account must be linked to an Accounting Group upon creation in Sales or Purchase Ledger Account Maintenance, therefore at least one Accounting group must be created i.e. Main Ledger.
Divisional Accounting Groups
To map the nominal codes into the Divisional Accounting Groups, select the Divisional Accounting Groups option from the left hand menu and double click on the required Accounting Group i.e. Main Ledger.
The following screen will appear and the nominal codes need to be entered into the relevant fields.

Nominal Ledger
Debtors – Sales Ledger Debtor Control (Balance Sheet)
Internal Transfer – INTER – Internal Charges (Balance Sheet)
Internal Vehicle Management Suspense – INTVM – Vehicle Prep (Balance Sheet)
Creditors – Purchase Ledger Creditor Control (Balance Sheet)
Deposits Taken – Parts Deposits (Balance Sheet Creditor)
Deposits Retained – Parts Deposits (P&L Other Income)
Credit Cards – Credit Card Control (Not in Use – This is now set in the Card Parameters screen)
Purchase Ledger
Discount Taken – P&L account. Values will post here, if a purchase ledger payment value is lower than the invoice value and is allocated via cashbook. If a discount amount is posted during the ‘Allocate Payments’ routine the nominal in the Purchase Ledger Parameters is used.
Logged Invoices – This is a balance sheet control account. Purchase invoices will be analysed to this nominal account when they are logged on the system and will then clear from this account and into the required nominal code when the authorised invoice is processed on the purchase ledger.
Sales Ledger
Discount Given – P&L account. Values will post here if a receipt value is lower than the invoice value and is allocated via cashbook. The difference is identified as a write off rather than a part payment, subject to the write off value being within the write off limit set within Sales Ledger Parameters.
Parts (Invoicing)
Special Discount – Not in use
Handling – P&L account for analysis of the Parts Handling charge on a Parts credit note.
Carriage – P&L account for analysis of Carriage charges on Parts invoices.
Post & Packaging – P&L account for analysis of postage charges on Parts invoices.
Credit Surcharges – Not in use
Tax Rounding – Not in use
Tax Type – required tax type must be selected against each charge.
Workshop (Invoicing)
Fixed Price Write Off – Not in use. This is set within Workshop parameters.
Divisional Settings
This Is My Default Accounting Group – Select one Accounting Group to be the default that will appear on the Sales Ledger and Purchase Ledger Account Maintenance screen when creating a new account.
Master Product Groups
Product Groups are used to determine the purchase, stock and sales analysis of the part. Valuation reports may be selected via product groups.
All part numbers must be associated with an appropriate product group. Oils and lubricants are recommended to be issues via the Parts Department.
Each product group has its own set of nominal codes to ease interpretation of stock values on the balance sheet, the product groups are user defined and there are no limits on the number of product groups which can be created.
As with Accounting Groups, Master Product Groups must be created for further mapping of nominal codes into the Divisional Product Groups.
To create new Master Product Groups, double click the option from the left hand menu and click ‘Add’ on the bottom right hand side of the screen.
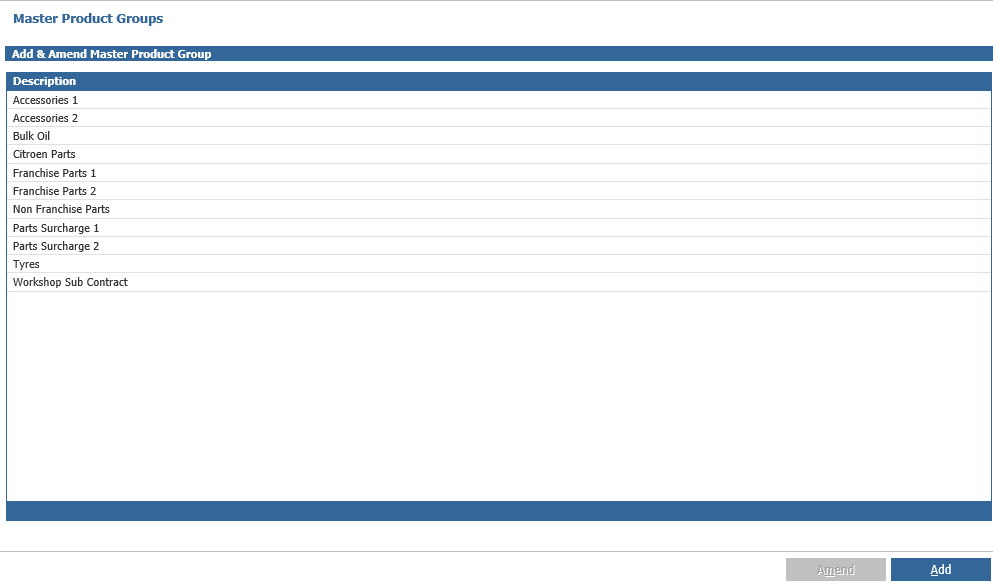
This will display a pop up box where the Master Product Group description can be entered, i.e. Franchise Parts, Non Franchise Parts, Tyres and Oils & Lubricants etc.
Click ‘Save’ and the Master Product Group will be added to the list.
Master Types of Supply
These can be used for the analysis of parts sales, cost of sales and discounts to sales types other than Retail, Trade, Internal, Warranty or Menu Pricing i.e., sales to other dealers, Internet sales or sales to other dealers within their group. These types of supply are then linked to sales ledger accounts within the parts parameters.
To create a new Master Type of Supply, double click the option from the left hand menu and click ‘Add New’ on the bottom right hand side of the screen.
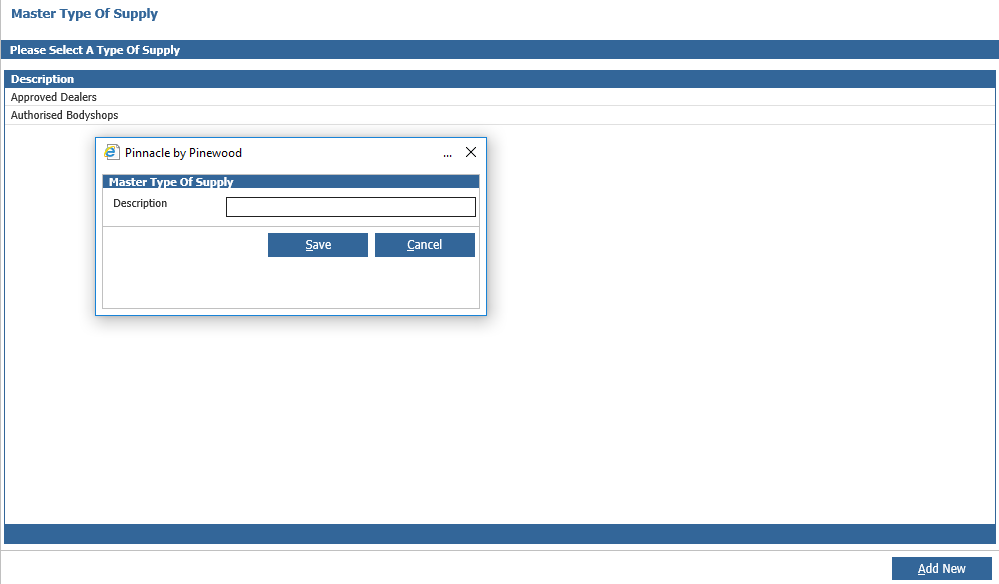
This will display a pop up box where the Master Type of Supply description can be entered, i.e. Other Dealers, Inter Group, Van Runs etc.
Click ‘Save’ and the Master Type of Supply will be added to the list.
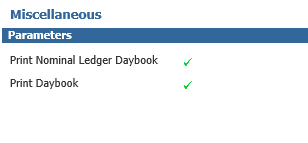
Miscellaneous
This is where you can select whether you would like be prompted to
- Print Nominal Ledger Daybook
- Print Daybook
Month End Parameters
This lets you set an email address for the VAT Analysis Report to be emailed to at Month End.

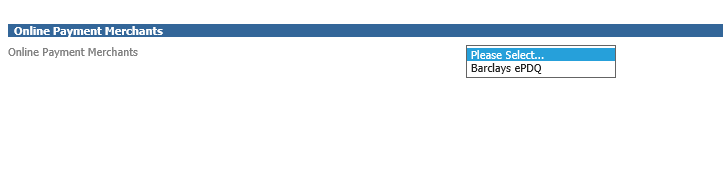
Online Payment Merchants
This is used to allow you the card merchants that the Pay+ system will go through, at the moment the is restricted to Barclays and has been added for future use.
Product Groups
The divisional product groups must be mapped to the nominal. There are 2 levels that must be mapped, Division and Branch.
To access the Product Groups for mapping, double click the option from the left hand menu and click through the company structure on the right hand side of the screen.

Division Level - Double click on the Division Sales Ledger to see all the Master Product Groups created.

Divisional Product Groups can be used for posting Sales Ledger Misc. Invoices directly to a product group instead of coding the transaction to selected nominal codes.
To code the Divisional Product Groups, double click on a product group to select it. This will open up the mapping screen.

The stock, GRNI and Write Off nominal fields must be populated. If product groups are not being used for Sales Ledger Misc. invoice coding, set the sales, cost of sales and discount nominal fields to the dump account ZZZZZZ as above. This must be mapped for Sub Contract Product Groups.
Branch Level - Once the divisional product groups have been mapped, the branch level should be completed.
Access the branch through the product group company structure.

Select the department to be mapped.
Parts department is for the analysis of parts front counter sales.
Workshop department is for the analysis of parts back counter sales to the workshop.
Any additional parts or workshop departments that have been created will need to be mapped accordingly.
To open the mapping screen, click on the required department to see a list of all the product groups and double click on the product group description.
The mapping screen will appear.

Click ‘Amend’ in the bottom right hand corner to access the nominal code fields.
Control Nominal’s
Stock – Parts stock balance sheet account
GRNI – Parts GRNI balance sheet account
W/O - Parts P & L account. When parts are receipted into stock, if there is a difference between the current average cost of the part and the receipt value, this difference will be posted to this nominal account.
Sales Nominal’s
Enter the nominal code for the sale of any part attached to the product group, to a customer type of:
- Retail
- Trade
- Internal
- Warranty
- Menu Pricing
Cost of Sale Nominal’s
Enter the nominal code for the cost of sale of any part attached to the product group, to a customer type of:
- Retail
- Trade
- Internal
- Warranty
- Menu Pricing
Discount Nominal’s
Enter the nominal code for the discount on the sale of any part attached to the product group, to a customer type of:
- Retail
- Trade
- Internal
- Warranty
- Menu Pricing
Save the changes. Complete the other product groups for each branch
Types of Supply Mapping
If master types of supply have been created, these need to be mapped in the product groups for the parts department section.

To access these parameters, single click on the product group within the parts section of the Product Groups then double click on the type of supply to open the mapping screen.

Click into the Sales Nominal section to activate the ‘Amend’ button. Double click on each line to open the nominal account code search screen and search for or enter the required nominal code.
System Periods
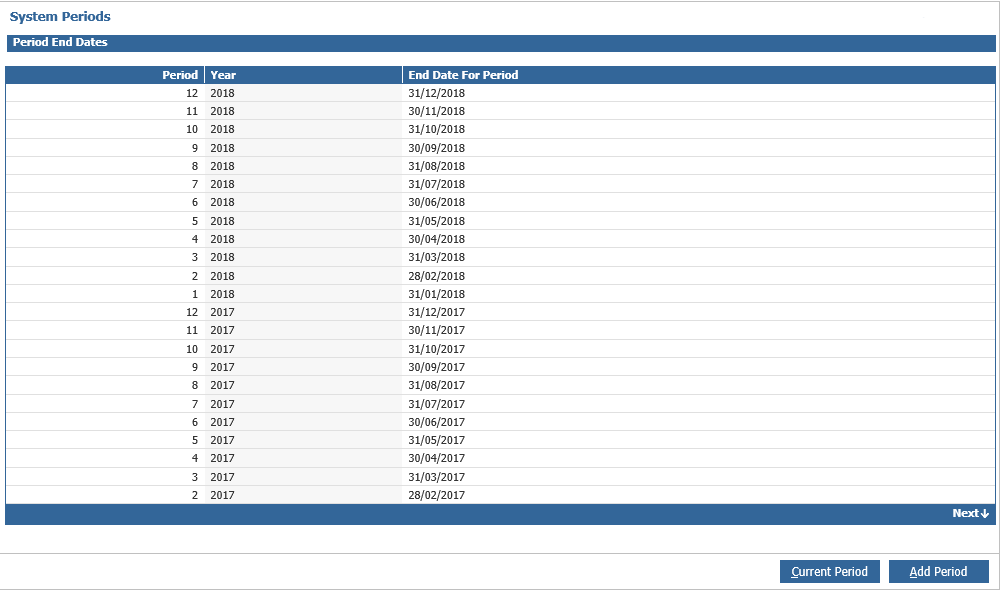
These are maintained when the nominal ledger month end is run, but can be amended in this screen by double clicking on the period that you wish to change, amending the date and saving the changes.
Note: - Current or prior period end dates cannot be changed.
Tax Maintenance
Tax tables are held at the division level of the company structure. VAT rates and VAT nominal account mappings are maintained in the Tax Maintenance parameters. These can be accessed by double clicking on the Tax Maintenance option on the side menu.
There are two areas that need to be set up:
- Tax Types
- Tax Categories
Tax Types
Tax Types are set up and maintained by Pinewood but can be viewed here.

Tax Categories
The Tax categories require completion with the corresponding nominal codes linked.

Select the tax category by double clicking on it and then click ‘Amend’ in the bottom right hand side of the screen.
The ‘Active’ flag at the top of the screen makes it possible to disable categories that you do not require. Any category set to disabled will not be available in any Tax Category dropdowns throughout the system.
Disabling a category will not affect any transactions that have been posted under the category or existing items within the system set to that category. In addition to this, the VAT Analysis report will continue to show the category if the period being viewed contains transactions to that category.
The Home and Internal categories cannot be disabled.
Click on the nominal code search icon on the right hand side of the screen and select the required VAT nominal account.
Complete the nominal codes for all tax categories.
Click ‘Save’ after any changes. Any postings made to any of the three vat nominal codes entered here will appear on the VAT Analysis report.