To view the Workshop Job Types Parameters go to:
Workshop > Parameters > Parameters and by default the screen will display the Job Types tab as shown below:
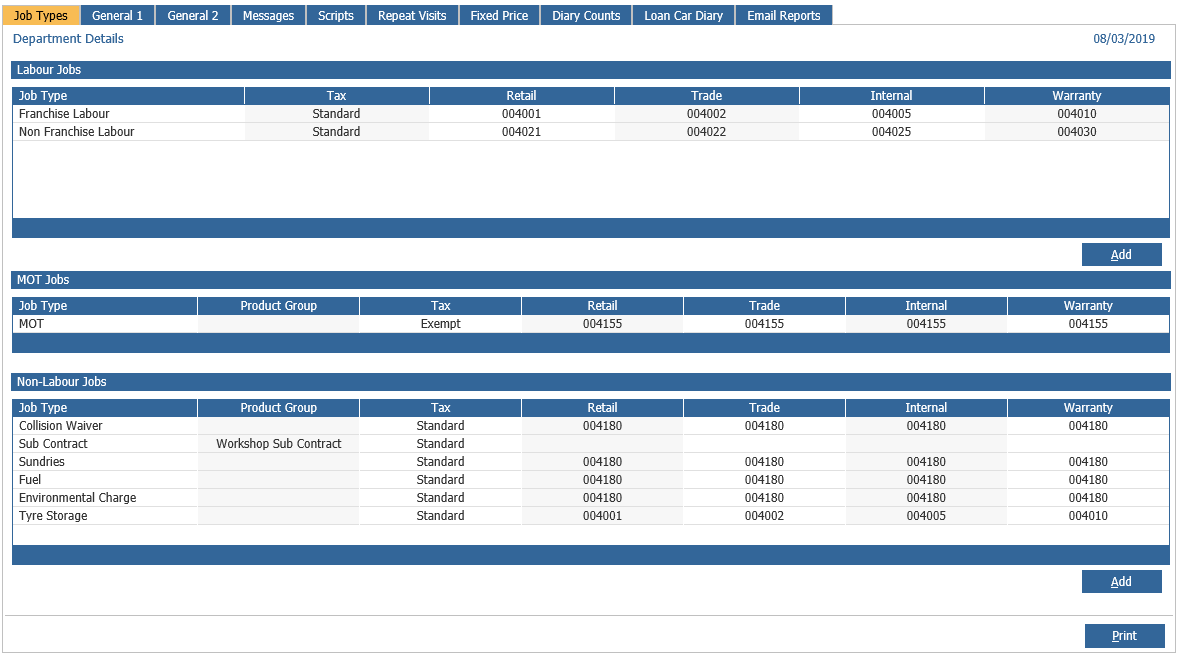
The 'Department Details' are split into three sections:
- Labour Jobs
- MOT Jobs
- Non-Labour Jobs
Labour Jobs
Job types are used to post labour sales and cost of sales values into the nominal. Each 'Job Type' requires a nominal code for every heading.

To create a job type, select the 'Add' button which will display the following pop up:

Within this screen enter a name for the job type then select the search icon next to the 'Tax' field to display the 'Select a Tax Type' window:
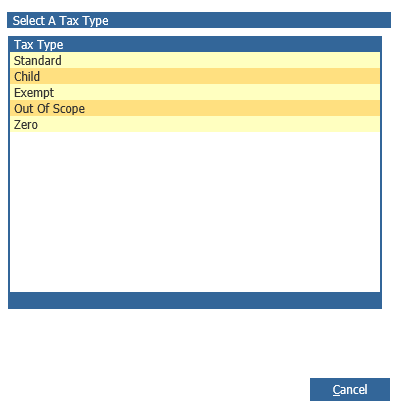
Choose the correct tax type by double clicking on it.
Select the search icon next to the Product Group field to search for the applicable Product Group.
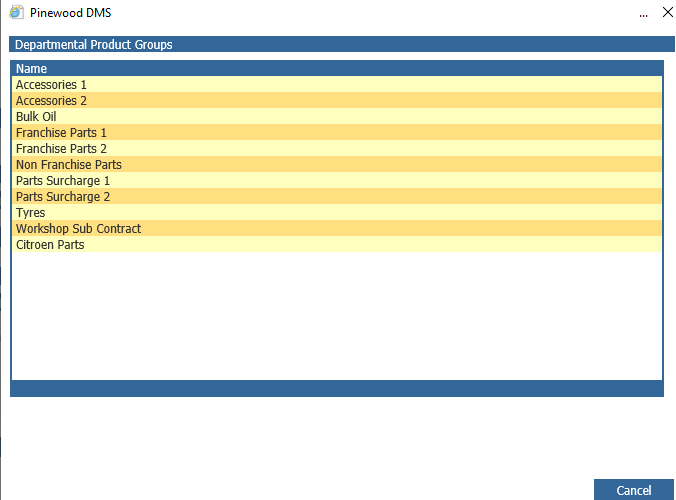
Select the applicable Product Group required for the new Job Type.
When all the fields are completed select 'Accept' and the new job type will be visible within the 'Department Details' screen.
MOT Jobs
When an MOT is invoiced in the Workshop the value of the MOT is posted in the nominal codes entered in this section.

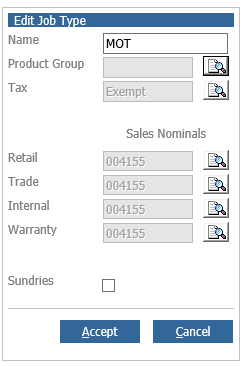
To enter or amend the MOT nominal codes double click on the MOT line. The 'Name' field will already be populated and the 'Product Group' field is not used:
Select the search icon located next to the 'Tax' field which will open the 'Select a Tax Type' window:

Select the correct tax type by double clicking it and populate the nominal code fields using the method described previously.
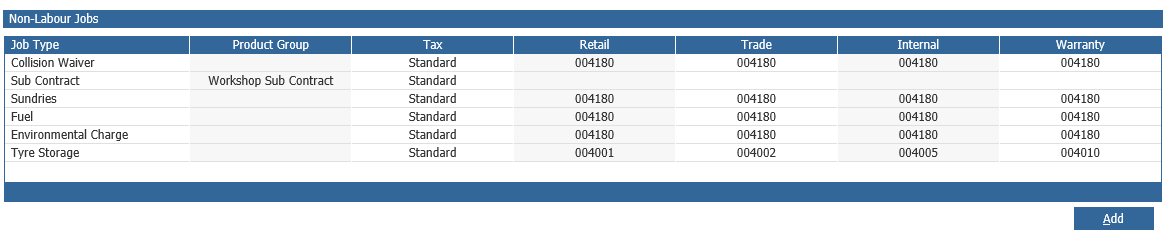
Non-Labour Jobs
The Non-Labour Job section is used to create additional charge fields that are utilised during the invoice process.
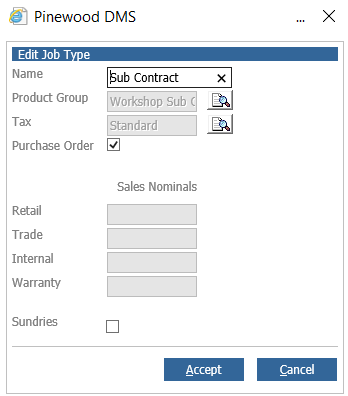
To create a Non-Labour charge select the 'Add' button, to open the 'Edit Job Type' window:

Enter a name for the non-labour item and select the search icon located next to the 'Tax' field to open the 'Select a Tax Type' window (as shown above).
Select the correct tax type by double clicking on it and populate the nominal code fields as mentioned above.
If 'Purchase Ordering' is being utilised a 'Product Group' is required. Select the search icon located next to the 'Product Group' field to open the 'Departmental Product Group' window:

Double click on the required 'Product Group' to select it.
For this Non-Labour type to be available when creating a Purchase Order, select the Purchase Order tick box.
You can also select the print option located at the bottom of the 'Department Details' screen to print a paper copy of the Parameters screen.