When the ‘Copy Details’ option is selected, the tabs at the top of the screen switch over to display the account details of the new Transaction Account. In this scenario, most of the information entered against the Master Account is copied across to the new screen automatically.
The screen displays as shown below:-
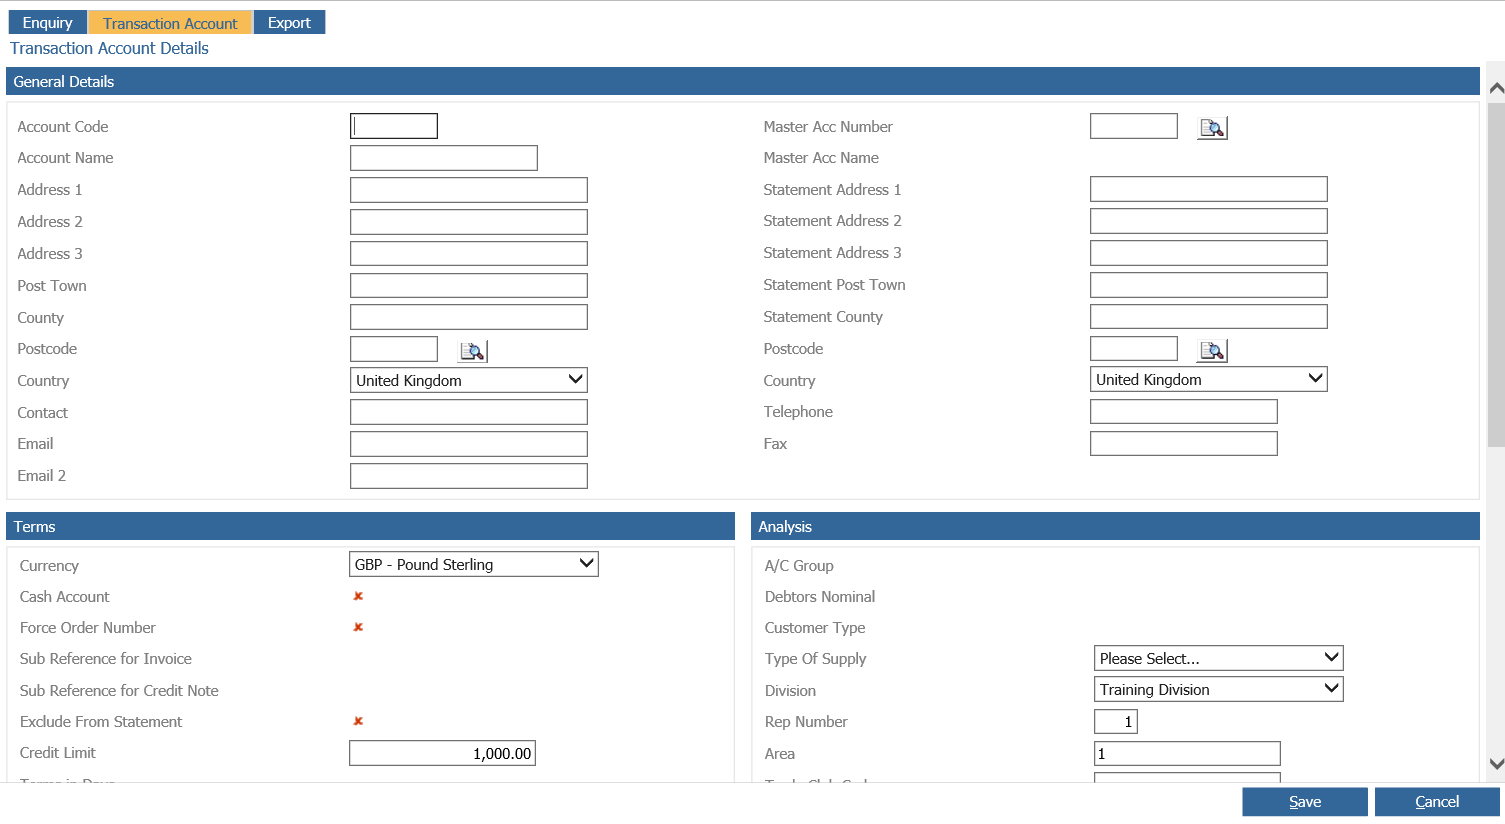
Address details completed on the Master Account are automatically pulled through to populate the address fields on the Transaction Account. The fields on the right hand side of the screen labelled ‘Statement Address’ can be completed if the statement is to be sent to an address other than the main account address. Any detail entered here is printed on the Statements – or the main address if not Statement address keyed.
The ‘Contact’ field is completed with the name of the contact at the customer’s business. If the Email field is completed, statements can be sent via email instead of post – this process is described in detail in the Sales Ledger Processing section of this guide.

The ‘Terms’ section of the screen on the bottom left hand side is mainly completed with information entered on the Master Account tab. However, the credit limit which defaults from the Sales ledger parameters can be amended, also the ‘On Stop’ Flag can be selected/de-selected.
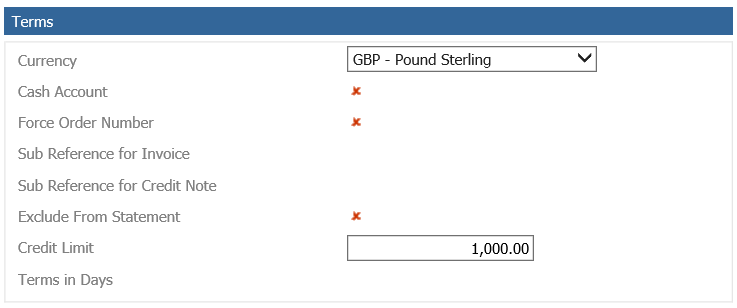
NOTE: - Where an account has a zero credit limit, this will be considered as un-limited credit. Accounts created for customers that are not provided with a credit limit should be amended at Sales Ledger Master Account level to being cash accounts.
The ‘Analysis’ section of the screen contains the ‘Accounting Group’ ‘Customer Type’ selected on the Master Account, The debtors nominal code, from the Accounting Group and the default ‘Rep’ and ‘Area’ numbers from the Sales Ledger Parameters. The ‘Division’ parameter is populated automatically with the division the user logon is assigned to.
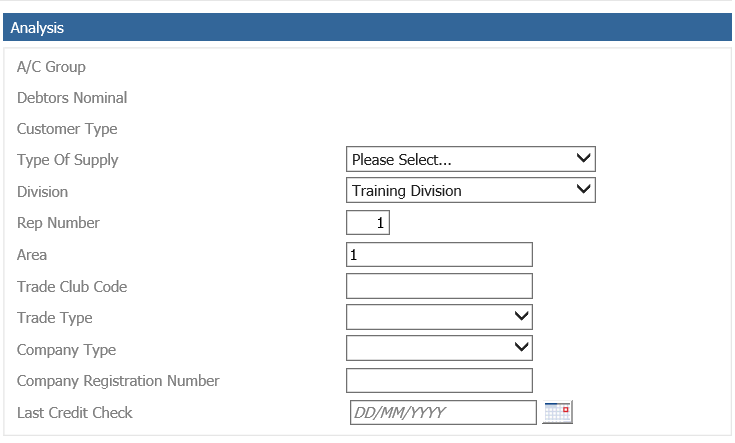
If the Sales Ledger account is a Trade Club customer (Vauxhall Dealers only), complete the ‘Trade Club Code’ and ‘Trade Type’ field. These will also be used in the sales discount matrix when parts invoices are being raised.
The ‘Company Type’ for this customer can be selected via the dropdown with a choice of ‘Limited Company’ or ‘Sole Trader’. The customers ‘Company Registration Number’ can be entered (10 digits – alpha/numeric). The date that a credit check has been completed on a customer can be selected via the calendar or be keyed in manually.
The ‘Tax’ section on the right hand side is used to inform the system of the VAT rate to apply to invoices raised on the sales ledger account – the Tax Number entered on the Master Account is automatically displayed and the ‘Exclude Tax’ option allows for the production of zero value tax invoices under any tax category.
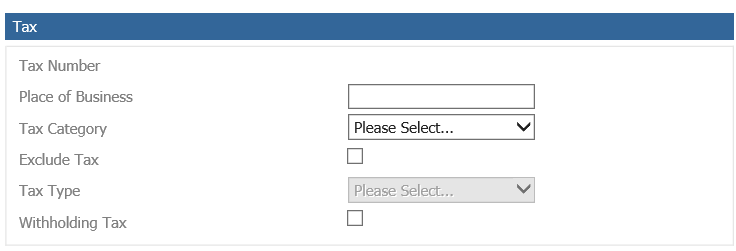
Any sales ledger accounts referring to different divisions of the same business should have the Tax Category field set to ‘Internal’ to allow for suppression of VAT on internal invoices, as VAT cannot be suppressed at the point of invoicing from the Workshop or Parts modules.
The ‘Invoice Currency’ is automatically populated from the Master Account, the ‘Parts Price’ field is used to determine which parts price is used when invoiced to the account, each part can hold a Retail, Trade and Cost price. The ‘Parts Invoice Discount’ is used to select if any discount shows on the invoice produced, and if so, is it displayed as a percentage or monetary value.
‘Invoice Delivery’ allows the option of either printing and/or e-mailing invoices and the ‘Invoice Print Count’ field controls the number of copies automatically generated when an invoice is raised via the Workshop or Parts modules. If it is set to ‘2’ as shown above, 2 copies of an invoice will be printed. This parameter can be adjusted for each Sales Ledger account as required.
It is mandatory that the ‘Bank Details’ section is completed for customers who have agreed to pay by direct debit. The completion of these details is the only setting that determines if a transaction is available for DD processing within the cashbook.
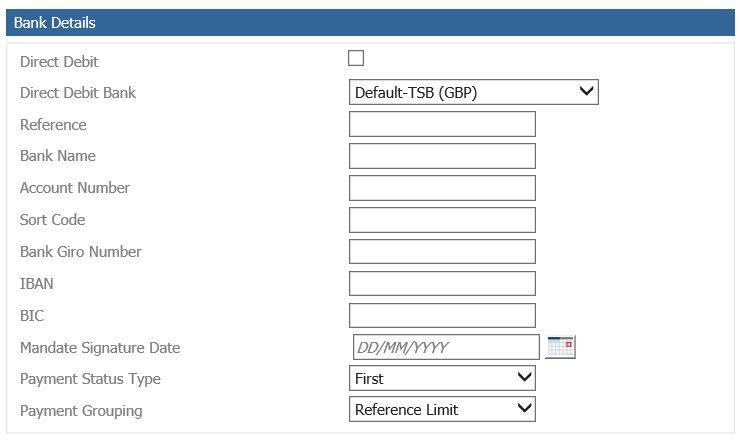
To activate this, select a Direct Debit Bank Account (Default will use the bank account you have set as default in the nominal ledger parameters), tick the Direct Debit box, enter a Direct Debit reference for this account and the customer bank account details. IBAN and BIC are not currently in use.
Click on ‘Save’ to confirm the changes. Alternatively, select ‘Cancel’ to exit the screen without saving the changes.