
Enter the details but do not select the log option. Instead, enter the nominal code in the box highlighted or double click the box to view the default nominal codes held against the supplier.
When posting an invoice to a purchase ledger account that has default nominal codes specified if the person posting the invoice has a purchase ledger access level lower than the new parameter value they will only be able to post to the default nominal codes. If their access level is greater than the new parameter level or the account doesn’t have any default nominal codes specified they will be able to post to any nominal code.
Tab across to the value column and enter in the net value against the nominal code
If the value entered into this field is less than the value displayed in the ‘Remaining Value’ field at the bottom of the screen, pressing the Tab key or the Enter key to display a second line, allows for another nominal code and value to be specified. If the value entered is equal to the ‘Remaining Value’ field, this field will revert to display 0.00 and will continue. This process cannot be completed until the ‘Remaining Value’ field is displaying 0.00 – meaning that the total goods value of the invoice has been accounted for within the nominal ledger.
A narrative can also be entered against the value.
When the net value of the invoice has been analysed, the Accept button will be available.
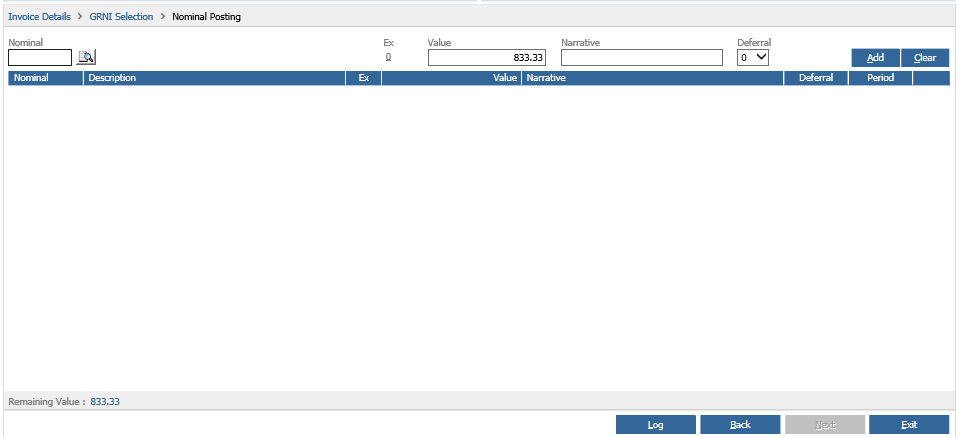
Select the ‘Accept’ option to complete this section. The ‘Remove Posting’ option is used to remove nominal postings if incorrect codes have been selected – the ‘Start Again’ option is used to return to the beginning of this process if required.
When the ‘Accept’ button is selected, select a status for the purchase invoice. If the invoice is queried enter a narrative to detail the query.
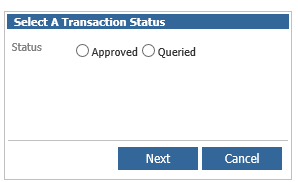
Click ‘Next’ and if the Document Scanning parameter has been activated, a document upload screen will appear.
If there is no document to be scanned, select ‘Cancel’ to allow normal continuation of invoice posting.
Once the upload is complete the purchase ledger account selection screen re-appears.
The run number and internal reference number display. If there is another invoice to post onto the same account as the previous invoice, click the ‘Repeat’ button to display the supplier details on the posting screen.
If no further invoices are to be raised, select the ‘Complete’ option to finish the process. The option to print a daybook is then presented. The daybook can be printed and filed as per business requirements and processes.