Parts > Sales > Credit Note
Within the Sales Details window original invoice information must be entered.

The original invoice number must be entered along with a reason for credit. The reason for credit will be shown on the credit note.
**Note: In some cases the invoice date may be required.**
Pressing ‘Accept’ will then present a window with the originally invoiced part list.
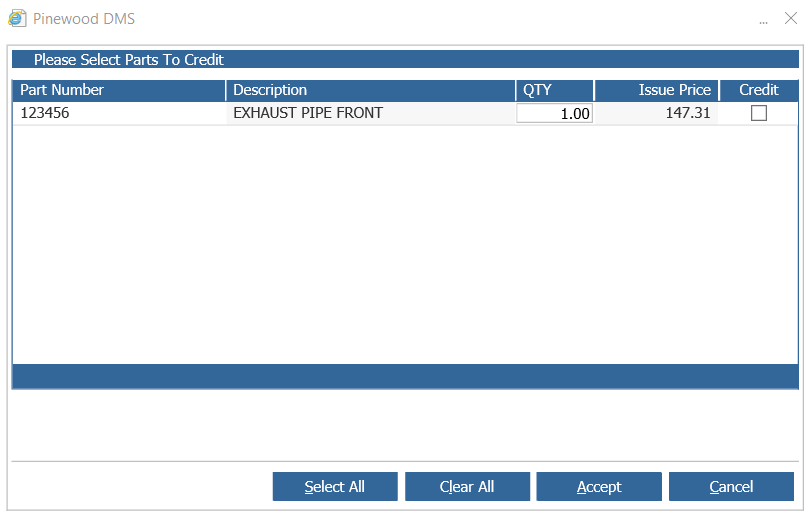
Parts that require a credit can then be chosen using a ![]() in the credit column. Quantities can also be amended if needed.
in the credit column. Quantities can also be amended if needed.
Once parts for credit have been chosen the ‘Accept’ button can be chosen.
Once individual parts or partial quantities have been credited, only the remaining quantities or individual parts will be available for credit should the invoice be chosen again.
After pressing ‘Accept’ the Credit Note Totals window will then be displayed.
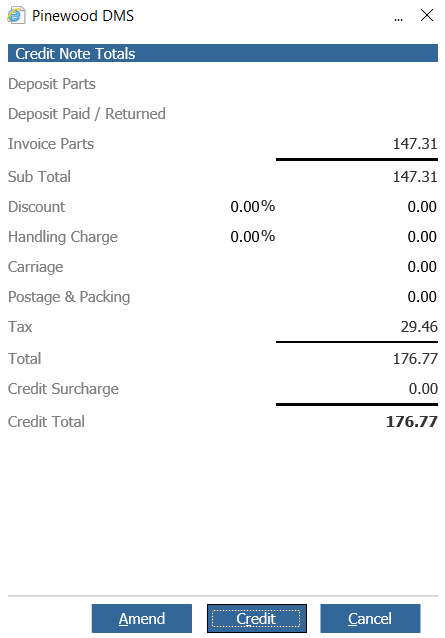
Within this window a handling charge can be added.
Pressing ‘Amend’ will allow a charge to be entered either as a percentage or as a value.
With the values added, selecting ‘OK' will recalculate the Credit Note Total.
After adding the additional charges the ‘Credit’ button can be selected.
For credits raised against an account invoice, the credit note is printed.
If the default printer parameter is on, the invoice will automatically be sent to the default printer on the PC being used, if not the printer must then be selected.
For credits raised against a cash account the payments box will then be shown. 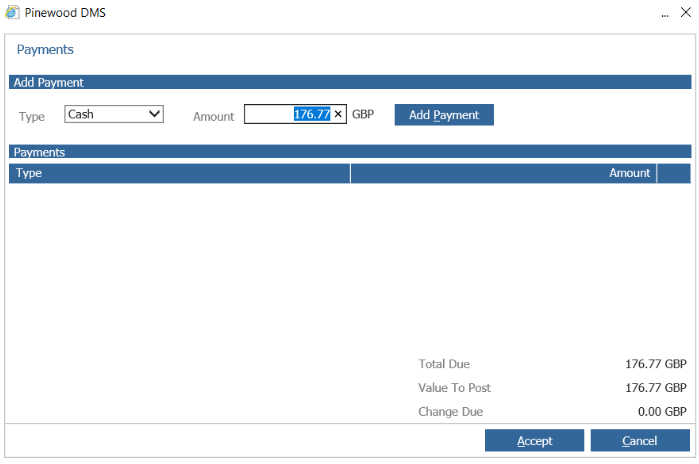
Once a payment type has been chosen and an amount entered ‘Add Payment’ will create a payment line in the window. To delete a line the ![]() icon can be pressed removing the payment.
icon can be pressed removing the payment.
The full credit value must be allocated in this way before ‘Accept’ can be pressed.
If the default printer parameter is on, the invoice will automatically be sent to the default printer on the PC being used, if not the printer must then be selected.