
Overview
This feature will allow you to email parts supplier orders. This will allow you to enter in content, subject and footer information that will send a plain text email to the selected email address that is attached to the Parts Supplier. This will also copy in the site that has sent the email so they are able to see that the email has been successfully sent.
Summary
Within Parts > Purchase > Supplier Orders, you will see the option at the bottom to Print, Email or Both;
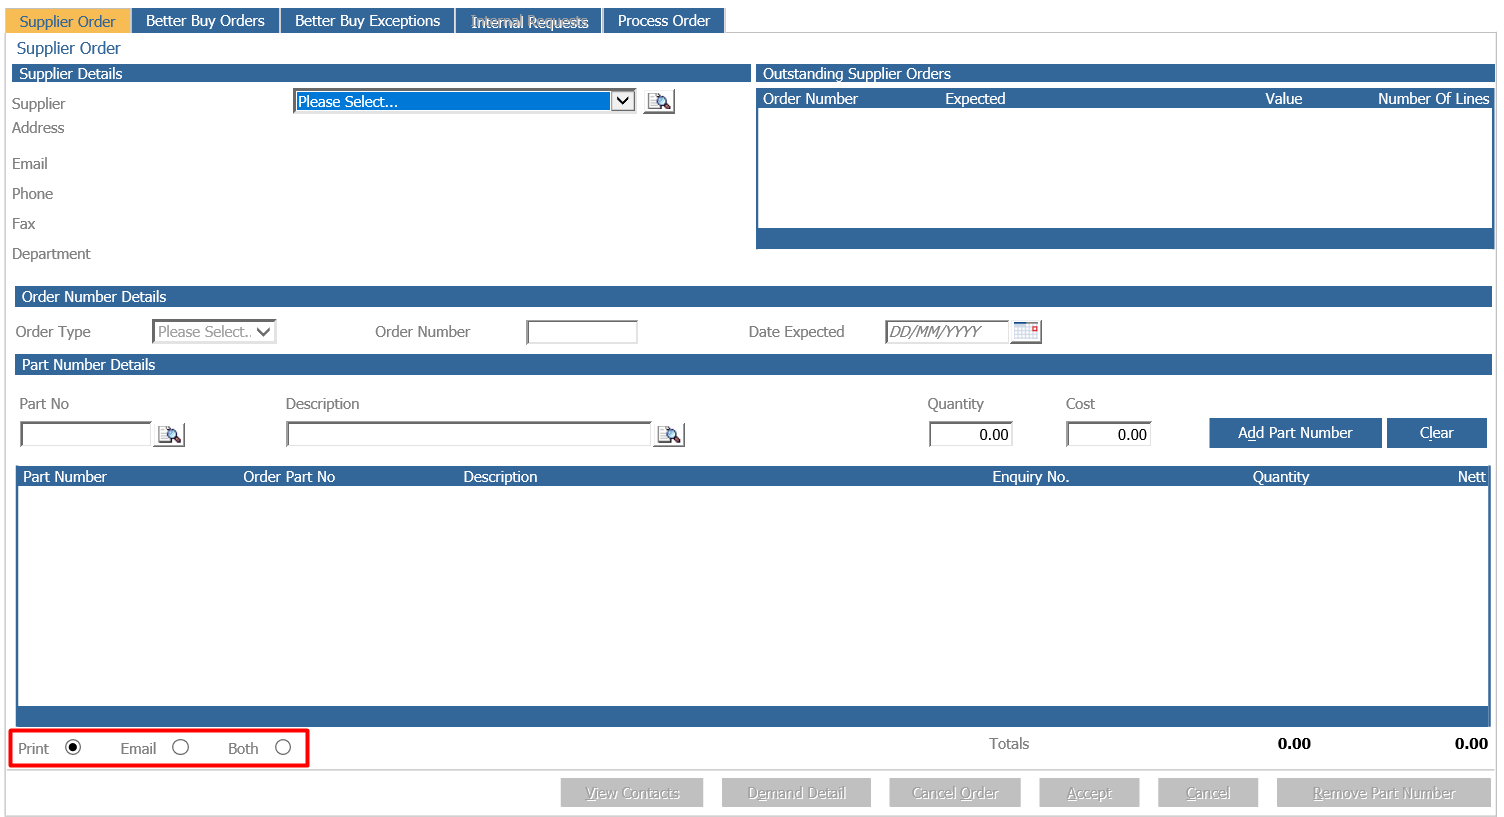
You will have the option to Print, Email or both to print and email the order.
When selecting the required supplier, if the supplier has no contact email address against it or the Purchase Ledger account does not have an email address registered then the Email and Both options will not be available for selection. You will only have the option to print the order when raising this to the supplier.
You can set an email against the Purchase Ledger account by going to Accounts > Purchase Ledger > Transaction Accounts - Select Amend and add an email address in the box highlighted below;
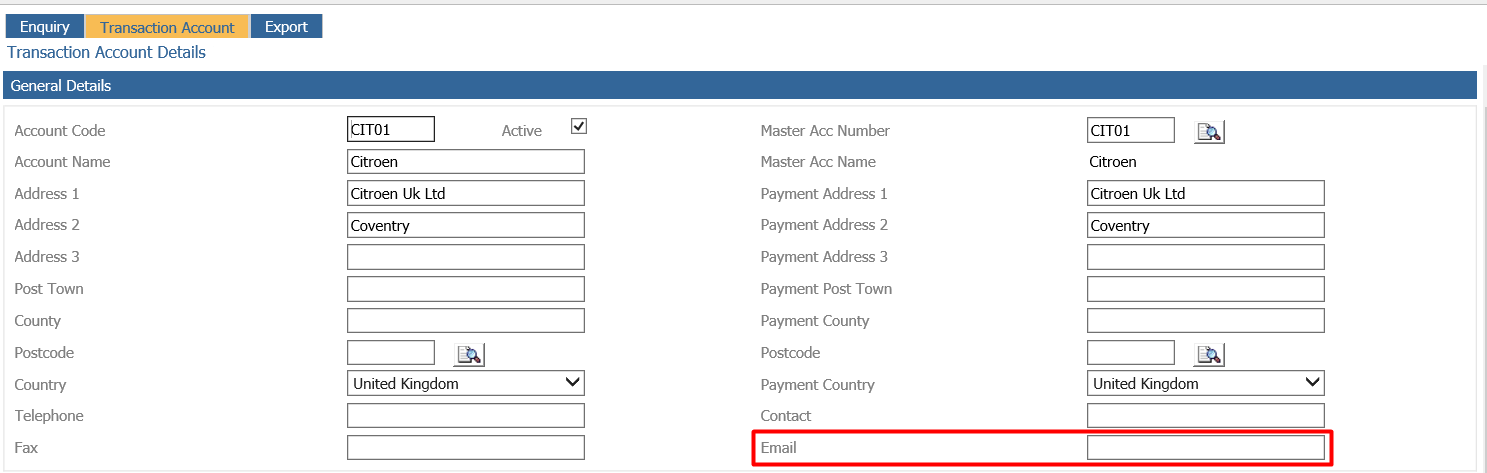
Within the Supplier Order screen, if the Supplier selected does have an email address;
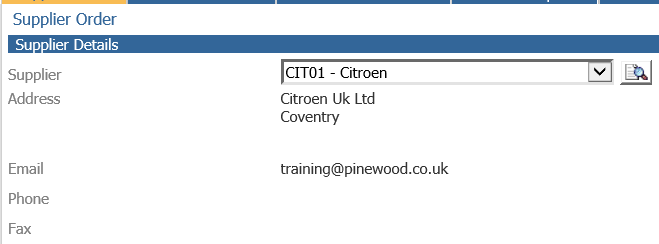
The Email and Both options will be available;

Once the order is raised, if selecting Email option and then selecting the Accept button it will ask Is the Suppler Order ready for processing? If you were to select No at this stage, it would prompt to print the supplier order but the system will not email an unconfirmed order. This will only use the Email option if the order is ready to be processed and completed.
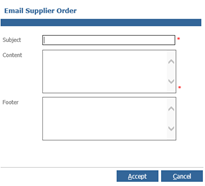
Once Yes is selected, the system will display as below the option to enter the Subject, Content and Footer information.
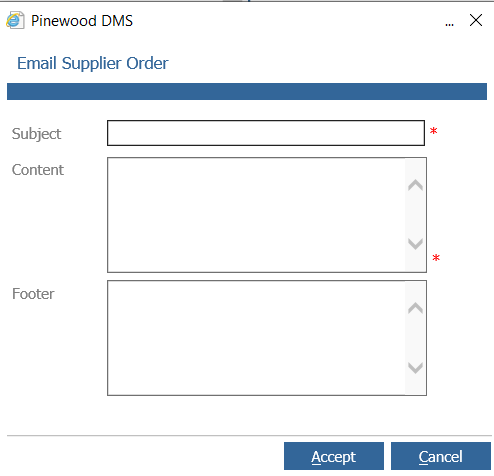
You are able to free type any information in this box however additional set up can be completed for this box to be prepopulated with information which is explained later in this document.
The Subject and Content field are required fields. These are indicated with a red asterisk.
Once this is completed and you select the Accept button, this will send PDF email of the supplier order print to the email address that is held against the Purchase Ledger account.
If you select Cancel at this stage, this will still process the supplier order but no email will be sent.
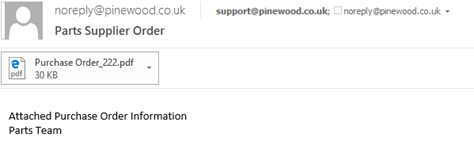
The email that is received by the recipient, has the email address that is held within the Company Structure Parameters (Accounts > Nominal Ledger > Ledger Parameters > Company Structure), against the Parts Department. This Parts Department email address is also registered as a CC on the email sent. This ensures the Parts Team are then alerted that the email has been sent.
This will display similar as the below;
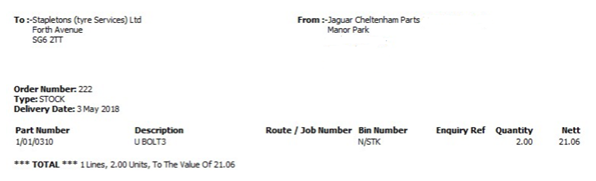
The PDF will display the supplier order in the same style as the print out.
Creating Contacts Against a Supplier
Within Parts > Maintenance > Supplier Maintenance, there are now further options available;
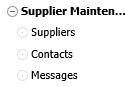
The Suppliers remains as the supplier maintenance page as previous.
The Contacts option allows you to create contacts associated to a supplier.
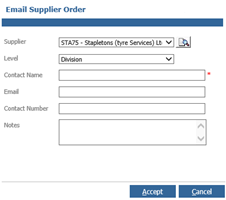
The Contacts can be created as Division or Department level. If the same Purchase Ledger account is used for a supplier in multiple departments in the same division then this information will only need to be entered once. When adding a contact, the only mandatory field required is the Contact Name. You can use this area to record contact for suppliers, you do not necessarily need to add the contact for email contact.
Select the Add option, you are then able to select the supplier you would like to associate the contact to.
The Level you wish the contact to be set to Division/Department.
The Contact Name
The Contact Email Address
Contact Telephone Number
**Please Notes: Any additional Notes regarding the contact listed**
Once you Accept this, it will then be added on the screen to view;

If you were to set a contact level to a department, then you can view within the View Contacts Button the contact associated.
You also have the Amend Button to amend a contact.
The Delete button to delete a contact.
View Contacts Button
Within Parts > Purchase > Supplier Orders there is now a View Contacts Button available.
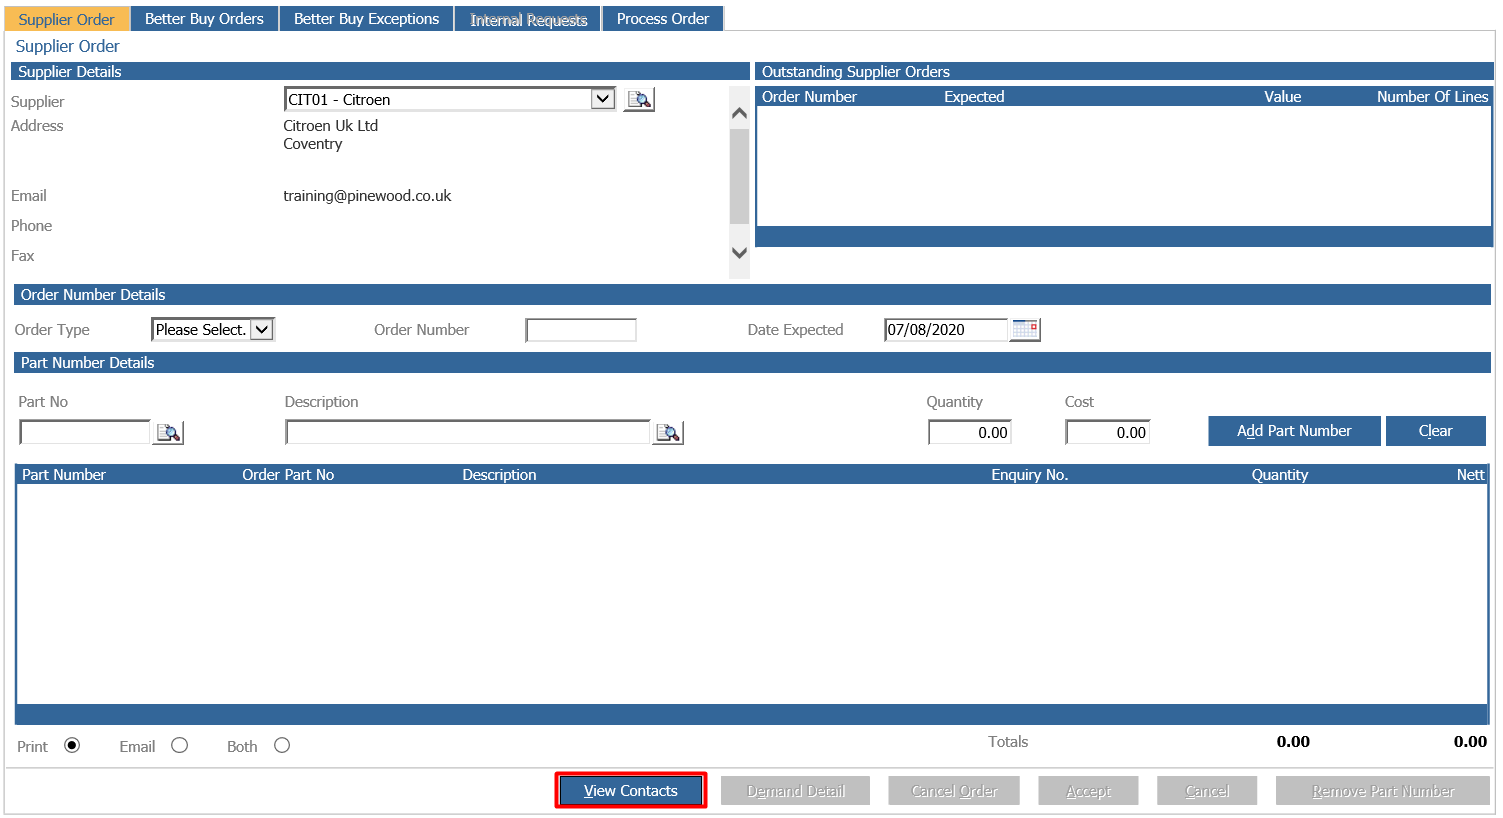
When selecting the View Contacts Button, you can view the contacts that have been associated to the supplier at that department, and the division level.
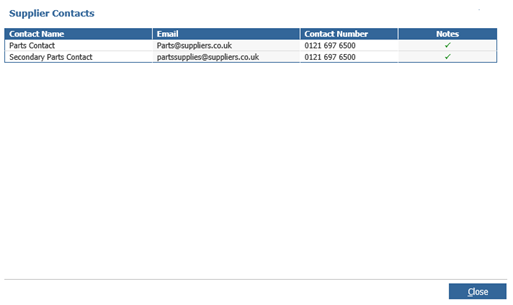
You can also see if there are Notes available and hover over to view these;
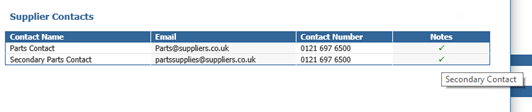
Processing with Additional Contacts to View
If additional contacts have been added, when processing the supplier order, you are able to view and select any or all of the contacts that were added to that supplier;
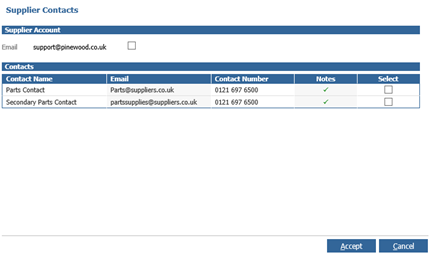
This will display the email address set against the Purchase Ledger at the top in the Supplier Account box, and any further contacts added under the Contacts title.
Once you have selected the desired contacts, this will then display the window to add the Subject, Content and Footer information.
Messages
Within Parts > Maintenance > Supplier Maintenance > Messages you are able to set up template messages.
These messages can be set at Divisional, Department, Supplier Division Level and Supplier Department Level.
The system will always use any messages set at Supplier Department Level as the main template message. If there is no message set at this level it will then look to see if a template is set to Supplier Division Level. If there is no template set for Supplier Division level, it will then look at templates set at Department Level. If there is no template set at Department Level, it will then use the template set for Divisional Level.
If no templates are set, then this will show as blank to free type as below;
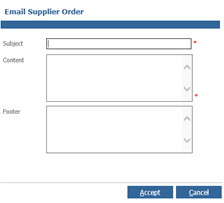
You can create the templates by selecting the Add button;
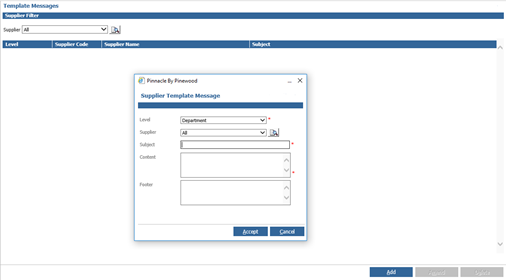
You can select what Level this needs to be placed Division or Department.
The Supplier – Select an individual supplier or use the  icon to search the supplier to create a unique template or All if you would like a generic template set for all suppliers.
Then the Subject, Content and Footer boxes can have text added.
Select Accept to complete.
You can then view on the Template Messages Screen, any Messages that have been set and whether these have been set against specific suppliers;

On this screen you can also use the Supplier filter to view individual suppliers if required.

Once filtered, it will only show information that has been created for that supplier.