
The distribution module has been developed to enable larger parts departments to effectively manage and control of their stock. It enables the use of Vans runs to trade and internal customers. It also gives users detailed reports on sales analysis of each van run and measures how effective parts employees are at correctly picking the right parts.
The reporting suite also gives detailed analysis on peak times for when parts are being ordered allowing more effective management and control of orders.
Set up Required
**Please Note: Before distribution can be activated it is important for the site to clear down and process any outstanding customer orders from the customer order screen.**
Once this has been done, distribution can be turned on. This is done in Parts > Parameters > Department Details > Department Details 2, enable by selecting the box for Distribution.
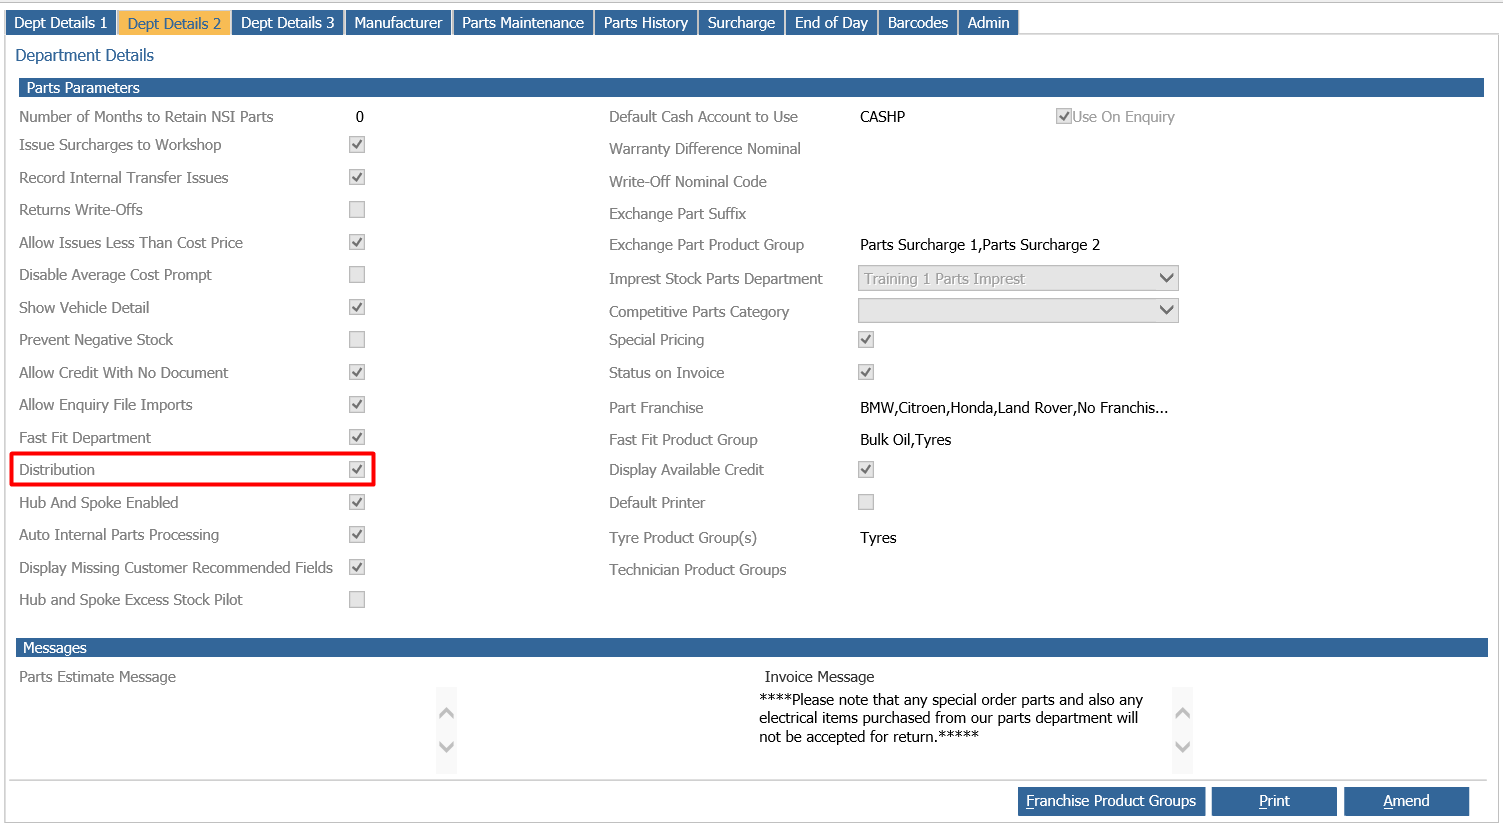
Parameters
Zones
Distribution> Parameters > Zones
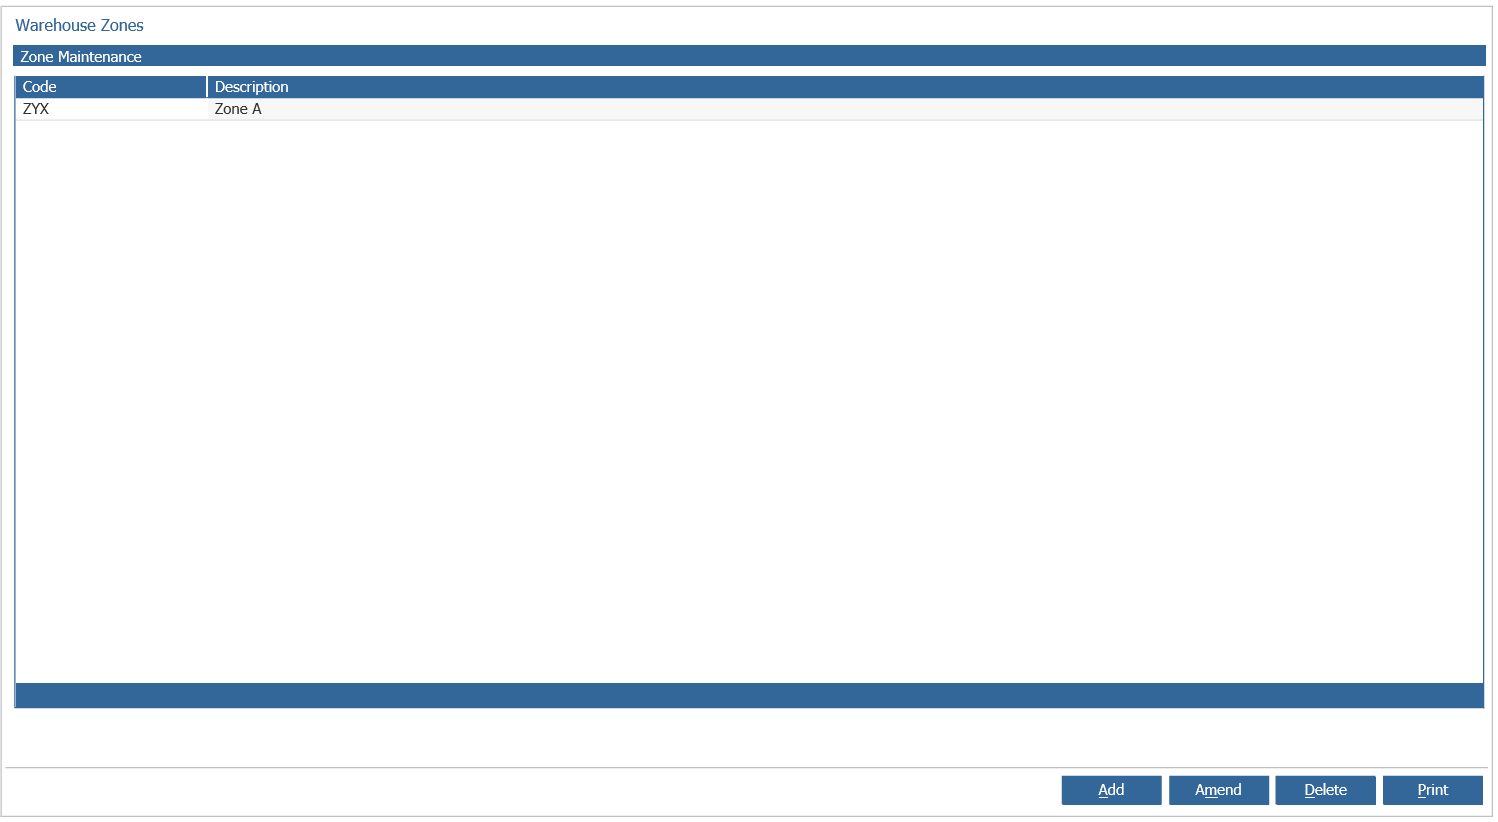
Bin locations can be divided into zones.
If a picking list includes locations in different zones, a picking list will be printed for each zone making it easier for parts to be picked efficiently.
For example, locations A1 – A10 are located within zone A. Locations B1 – B10 are located within zone B and so on.
To add a zone click ‘Add’ located at the bottom of the screen.
The add warehouse zone window will be displayed where a zone code and description can be defined.
Either double click the newly created zone or single click it and select ‘Amend’. The zone allocation window will open.
To enter the bin location range that will reside within that zone, enter the bin location directly into the from and to fields and click ‘Add’. 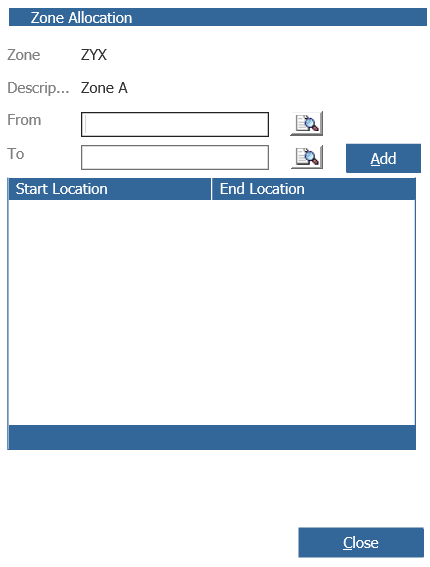
Multiple bin ranges can be added to one zone if required but the same bin location cannot be added to two zones.
To delete a start and end range, double click it.