Once the Questions have been made Active and all email set up has been enabled the system is now active for GDPR.
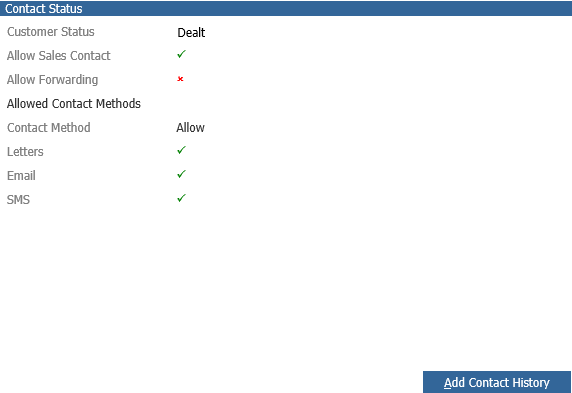
Once these parameters are enabled, the permissions can then be viewed through the Contact Tab for the customer. See below the current screen available;

You are then able to able to select the allowed contact methods, and whether the customer details can be forwarded.
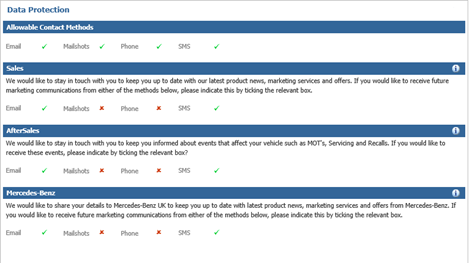
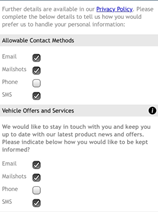
See below the screen that will be available once GDPR is active;
Within this window, we can now see the allowed contact methods and also the Marketing Consent allowed, the tick indicates that one or more of the contact methods have been selected for that category of question. The tick indicates a contact method has been allowed, however to view this you can select the window and a pop up will appear with a read only overview of the allowed contact methods;
Once a contact is created using the Add Contact History Button, save and see the GDPR Questions are prompted along with the Allowed Contact Methods.
The Allowable Contact Methods field does not formulate permissions for any marketing activity. These are the methods the customer wishes to be contacted using in the event there is a process within the system that does not rely on any permissions. This ensures the customer is only contacted using the methods they have approved.
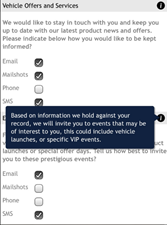
Below you will see the additional questions that have been set up including any 3rd Party Questions.
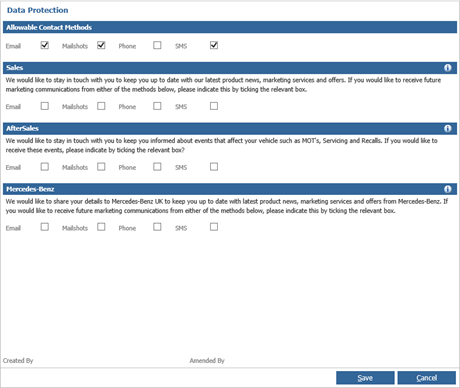
You can simply set the permissions by selecting the approved contact method stated by the customer and select Save.
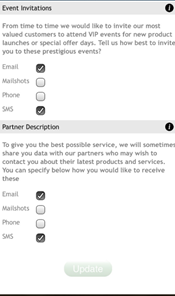
If you select the I  icon, you will see the Additional Details against that question.
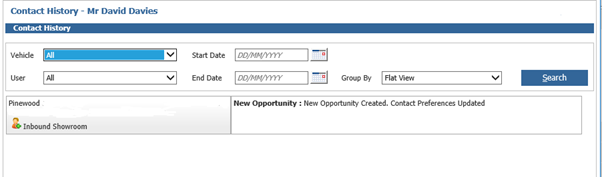
Once updated you can see this has updated the contact history. Once the contact preferences are changed, this will write a contact to show that the customers Contact Preferences have been updated. This will also generate an email and SMS if enabled where they can view and edit their own permissions if the setup has been completed for this.

Once the email has been sent the user can view the email as below;
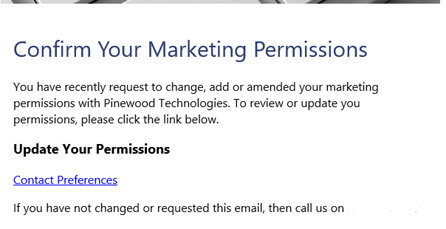
Using the Hyperlink within the email, the customer can then manage their own permissions.
The customer, from this email can then update and amend their preferences.
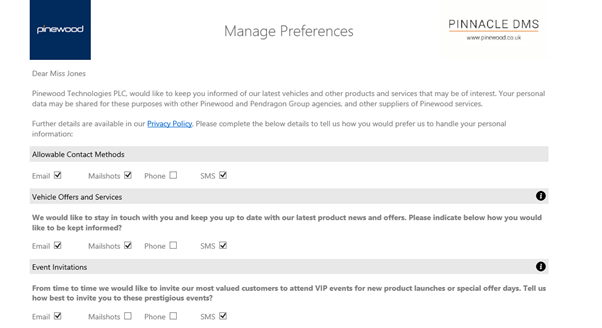
The customer can hover over I  button to view the additional details.

Once they have completed any changes they wish to make, they can select the update button.

Once updated the email will confirm these changes have been made;
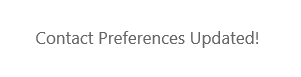
The customer’s preferences will then be changed within Pinewood DMS.
If the customer receives an SMS message, they can then select the options in the same way as with the email process.
Within the text they can select the short link added.
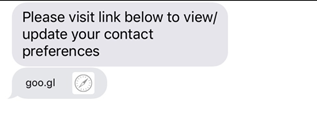
Once selected they can then view the page to amend and update their preferred contact methods.
The user can select the I icon to view the additional details held against the question.
Once they have selected the options required, they can select the Update button.
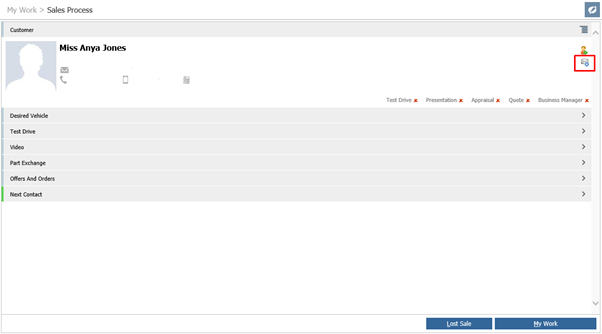
If we were to demonstrate this in practice as below within Showroom. The user selects the Walk in tile and searches for a customer;
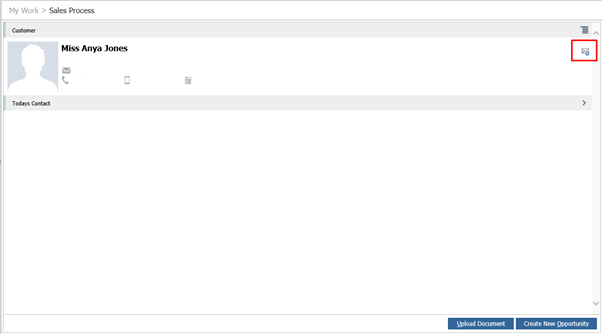
In the top right of the screen you will see an  icon. This allows the user to view the customer’s permissions in a read only view.
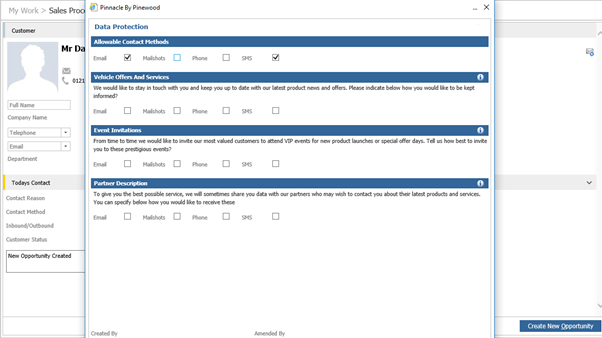
If the user was then to create an Opportunity, as part of the process of creating the contact the ability to amend those preferences will then be available.

Throughout the process, the  icon to view the Marketing Preferences will be available via the icon.
If the user were to create a new customer on creation of creating that customer, the user will always be prompted with the permissions capture window;
When viewing the customers Contact History, like within CRM, you can see the Opportunity that was created and also the Customer Preferences Updated;