
Collection and Return is broken down into a three-stage process. If a customer has a part that
they want to return to the Parts Department on a van then the Collection & Returns process
can be adopted.
Parts > Distribution > Collection / Return > Arrange Collection
Enter either the Invoice Number, Delivery Note Number or alternatively search on a date.

Double click on the Invoice Number.
If the selected invoice date exceeds the Number of Months to Allow Returns count within the
parameters, the following message will be displayed.
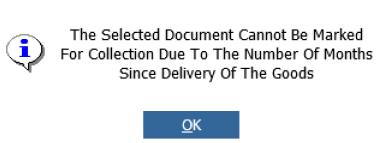
The credit can be done through the normal credit routine or the parameter can be changed.
The select parts for collection will be displayed.
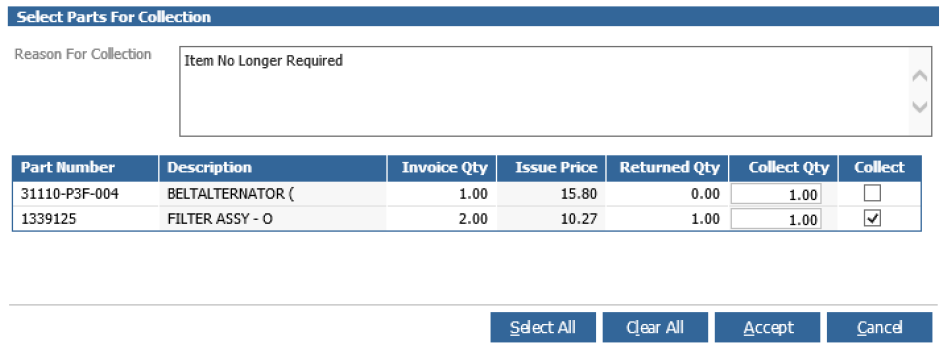
Enter a reason for collection and a tick against all parts to be collected then select ’Accept’.
If a part has already been collected, the Returned Qty will be displayed or the Collect Qty will
be zero and the field is greyed out. Double click on the collected part to view the Previous
Returns window.
After selecting parts to be collected and pressing ‘Accept’, the collection can now be
confirmed.
Parts > Distribution > Collection / Return > Confirm Collection
Select the collections to be confirmed with a tick and select ‘Accept’.
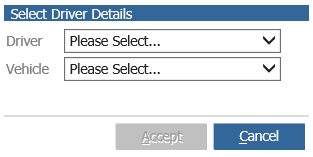
A driver and vehicle must be selected.
Once a driver and vehicle have been selected, press‘Accept’.
Once the route / run for the collection have been selected, the collection documentation will
be printed.
When the part has been successfully collected from the customer, the collection can be
verified and the credit printed.
Parts > Distribution > Collection / Return > Verify Returns
After selecting a return, the window below is displayed.
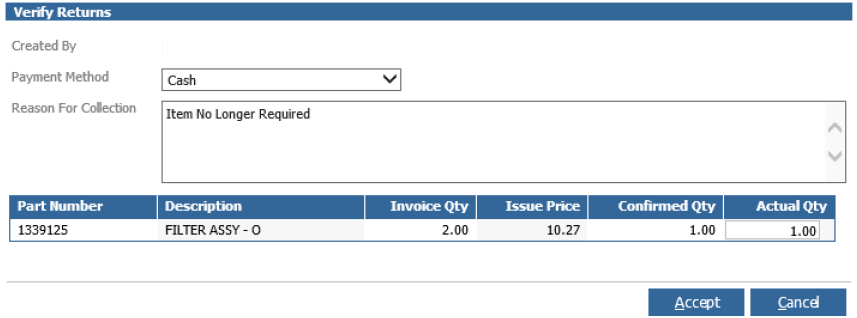
For cash customers the payment type must be selected. Press ‘Accept’ to produce the credit
note.