
Prior to completing a stock take there are some reports that sites should review to keep the process as simple and straight-forward as possible;
- Negative Stock Report
- Parts to Make Inactive
- Outstanding Customer Orders (These will be included in the Stock Take process)
(You need to check the outstanding Customer Orders because parts that have deposits taken and have not yet been invoiced will be included in the count. Also, any parts that have been reserved and moved from their location will also be included in any count).
It is also recommended you print your Valuation report prior to completing a stock take within the department. This can be done via; Parts > Reporting > Stock > Valuation.
This then has the option of printing in the bottom right of the screen.
You then need to go to;
Parts > Maintenance > Stock Take > Stock Take
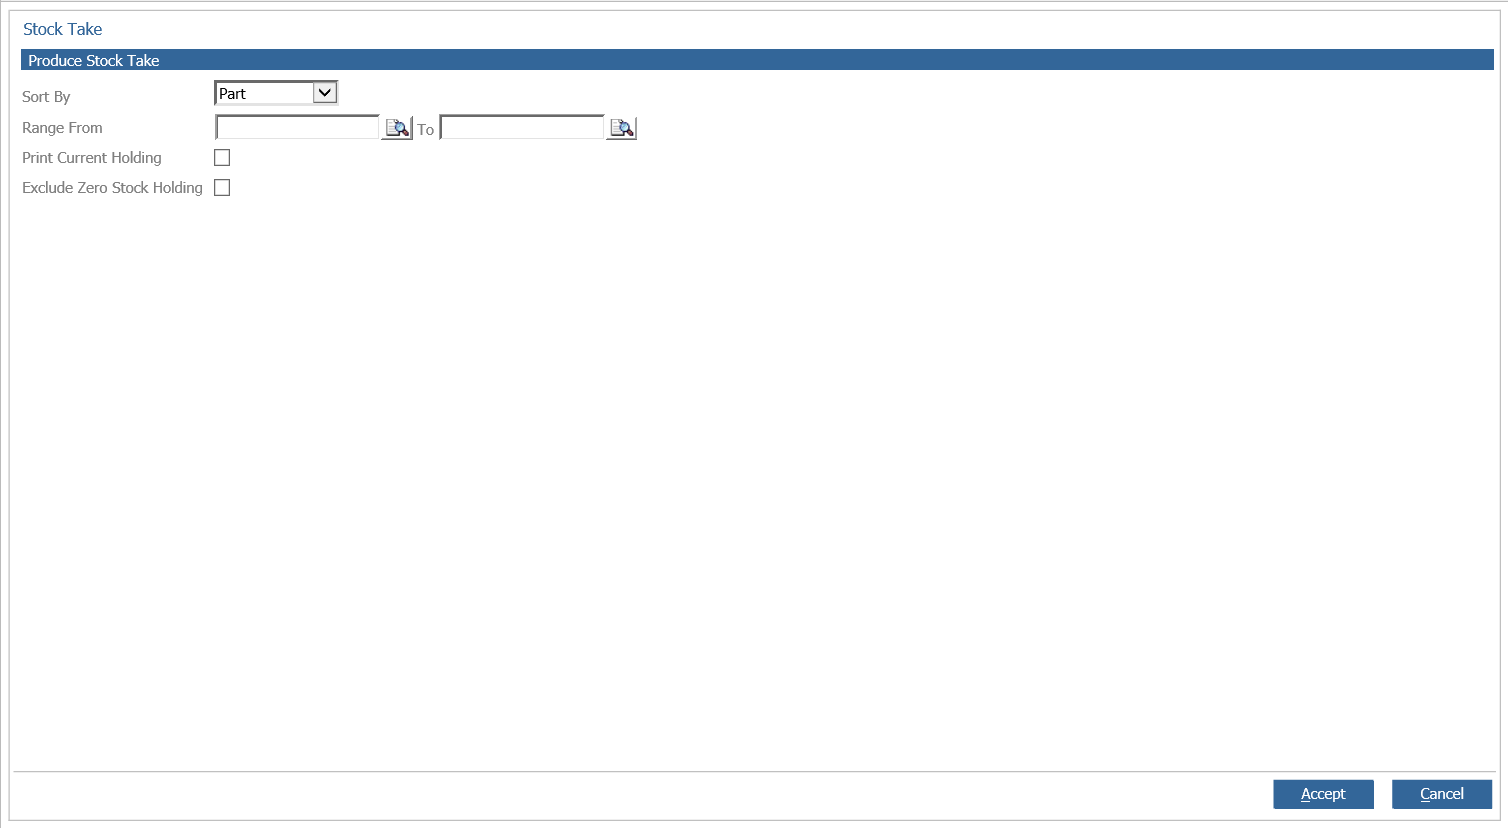
There are several options here for a user to define exactly what process they wish to take place.
The ‘Sort By’ drop down allows users to list the part numbers either in part number order (alphanumerically) or alternatively, this can be ordered by bin location, so that all the parts being looked for are in the same place within the warehouse when counting.
A Range can also be defined, in line with whether or not a user is selecting the Part or Bin option, the range to be counted can then be selected. (Leaving these blank will print all locations or parts).
Sites can also set as to whether or not they want the current stock holding (listed within the system) printed on the stock take forms.
There is also a ’Exclude Zero Stock Holding’ parameter. This will remove all parts from the count sheet that the department does not currently have. As there are none to be counted.
It is worth noting, if a part record has multiple bin locations listed against it, only ‘Bin Location 1’ will appear on the stock take print out.
Once this has been accepted – users will be offered a pop-up with regards to printing these sheets, giving them the option of; all pages available, a single page which can be selected from a drop down or a range of pages selected from a dropdown.
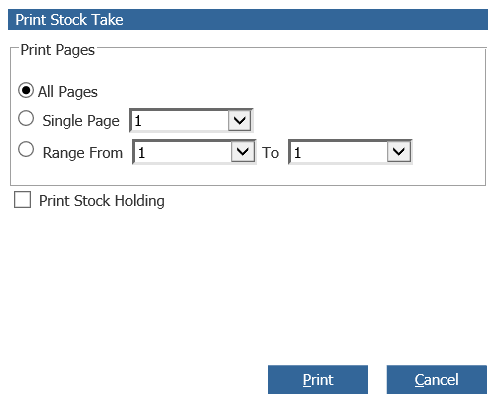
This also gives an option as to whether or not the expected stock holding of the part record appears on the print out. Pressing ‘Print’ will give you the print preview allowing you to select your printer.
At this point, trading within the parts department can continue as normal, the parts file has NOT been locked. However, any new parts that are created after the stock check sheets have been printed will not be included in the stock take. Sites should therefore enforce a cut off time for part creation before printing the stock take sheets.
Once the relevant sheets have been printed, the stock take can be started by pressing the ‘Start’ button.
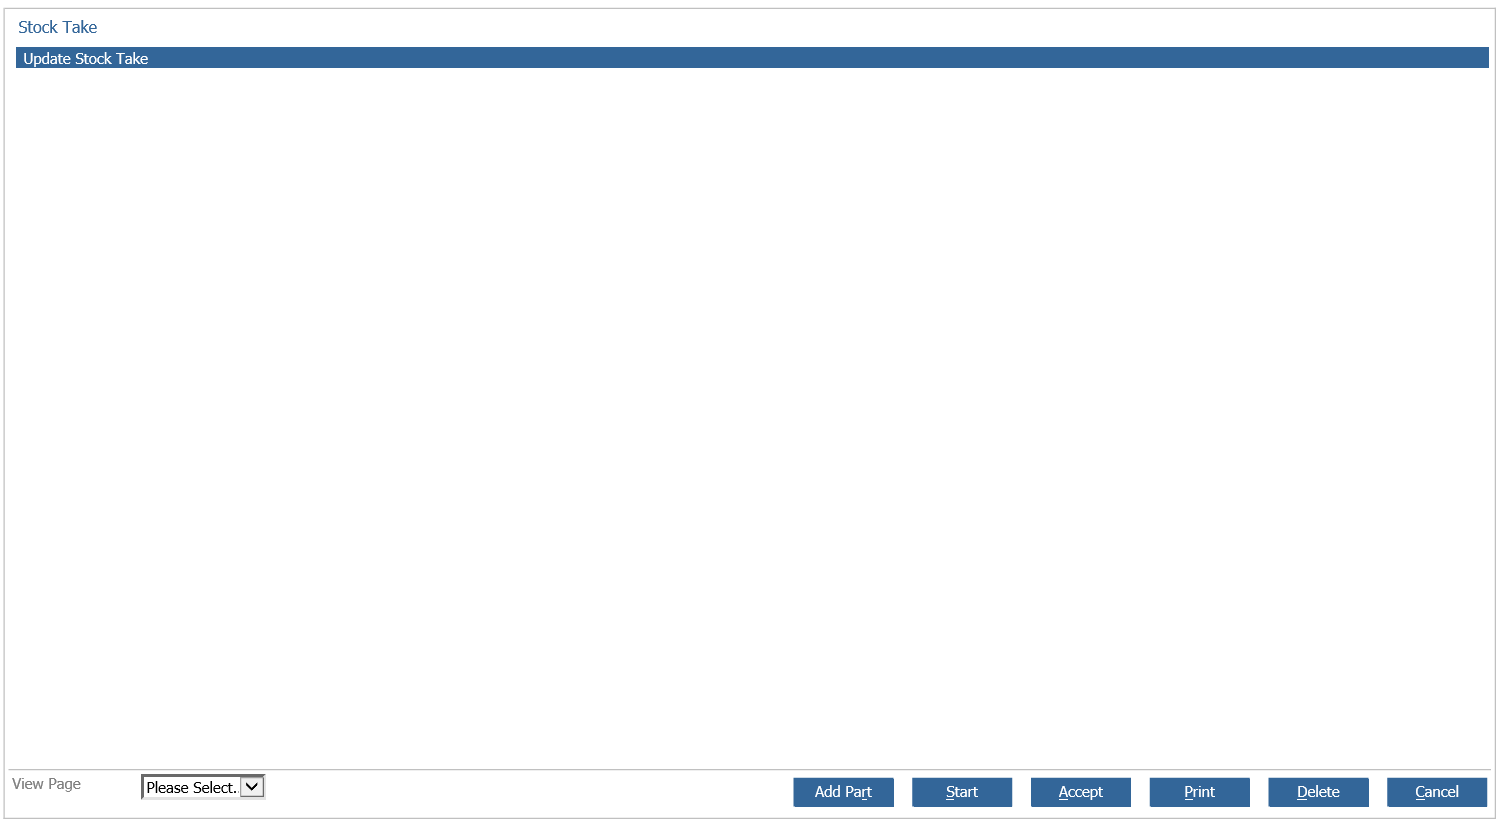
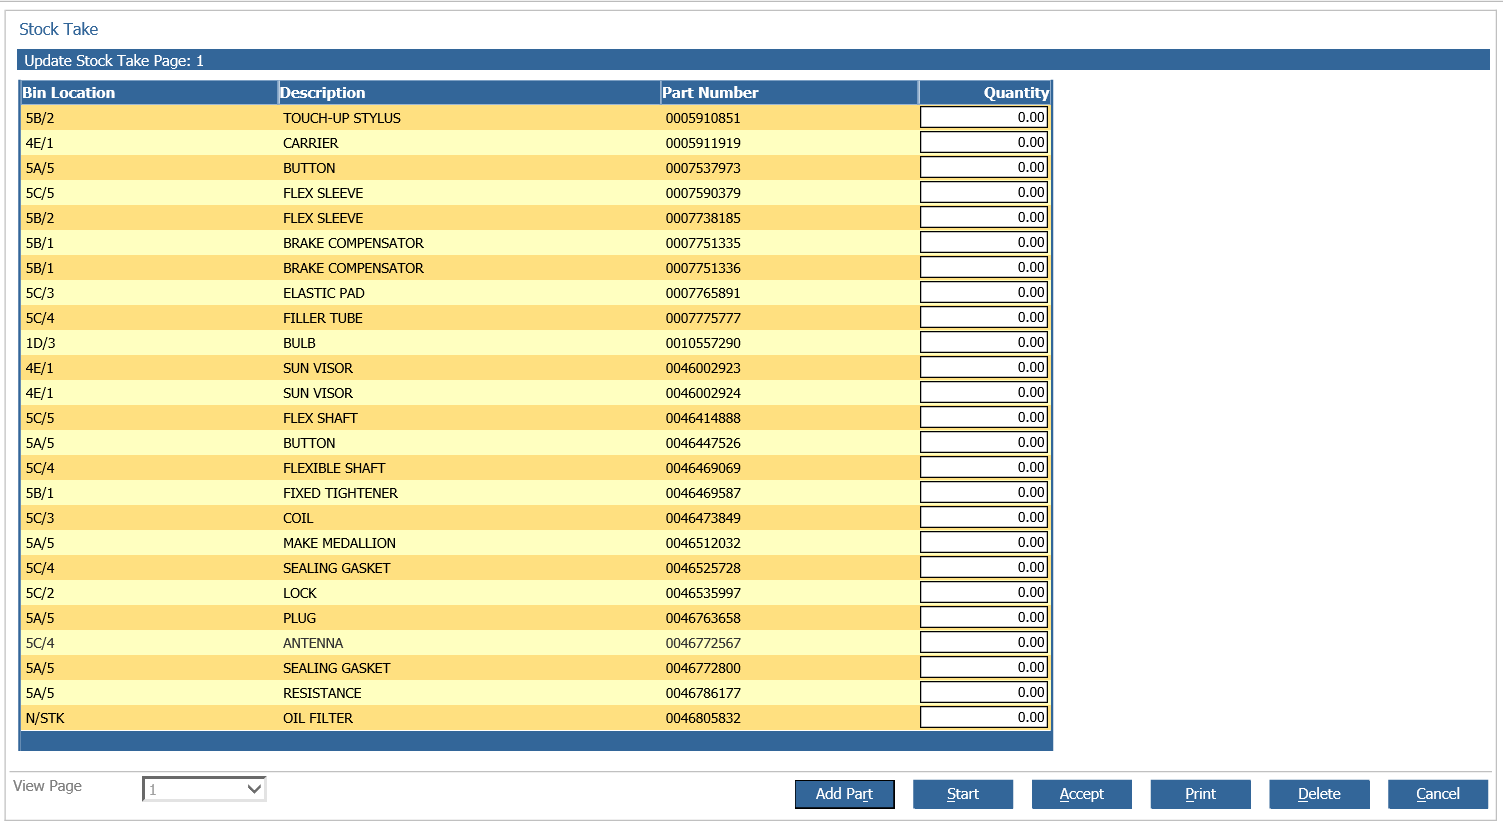
All part records that are included in the stock take will be locked and unavailable for viewing. Once completed, users can input the stock holding found by selecting the relevant page from the dropdown in the left hand corner and selecting a page number.
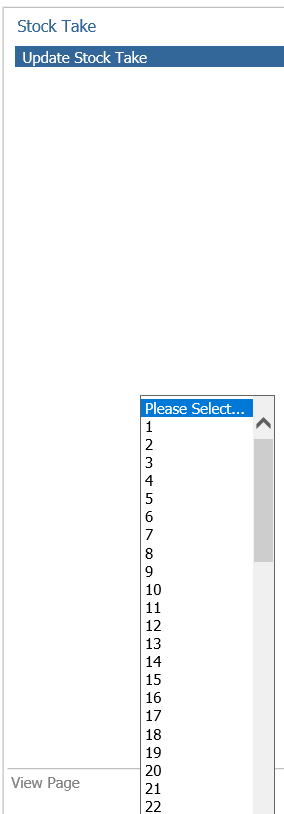
Only sheets that have not been updated will be displayed. All parts on the sheet must be updated, sites cannot submit partial sheets. Once the values have been entered pressing ‘Accept’ will complete that page. At this point the page is removed and cannot be updated again.
During this process, parts thought to have a zero stock holding but found by the department can be added to the stock take sheet. Pressing the ‘Add Part’ button allows parts to be included in the stock take that have been made inactive before the starting or were not even created before.
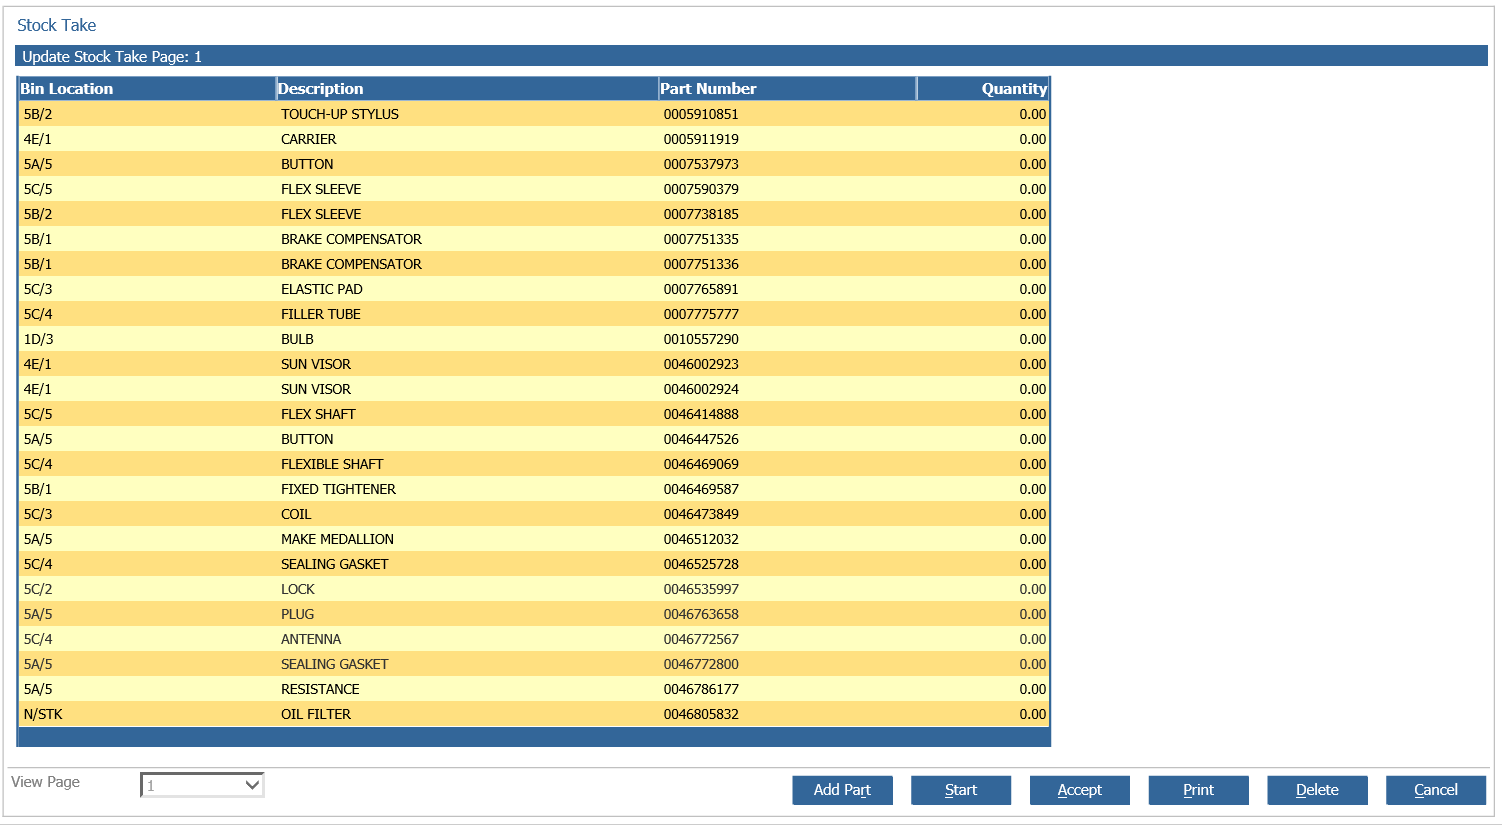
A user will need to search the part number, if it had previously been made inactive, a site can simply highlight the part searched and press ‘Activate’ to reactivate the part and double click the part number, a new quantity can then be entered.

The ‘Add Part’ option is no longer available after the last sheet has been inputted. After the final sheet has been counted and inputted, the variance report is immediately displayed. This displays all parts for which the stock holding has changed up or down. The newly counted quantity is in the column on the right and offers the user the option to print in case any stock is then needed to be re-counted.
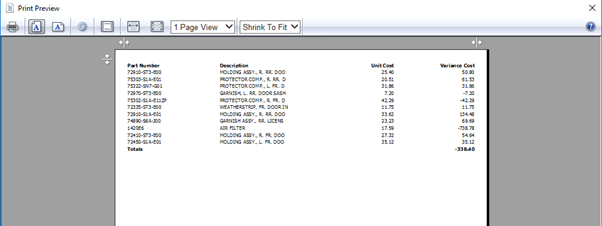
Pressing accept will update the Variance report. This can be done as many times as required. A Financial Summary is also available when amending the variance report.
By pressing the ‘Financial Summary’ button a report will be printed detailing the monetary values associated with the variance report, again up or down. This can also be printed as many times as required and will change every time the variance report is updated with new quantities.
The user then has two options available to them;
- The Stock Take can be Deleted.
Deleting the stock take will undo all sheets that have been counted and will return the screen back to the start, where sheets will need to be re-printed and the stock take re-started from scratch.
- Finishing the Stock Take.
After changing the Variance Report quantities as many times as required and printing Financial Summaries to see were you’re at, if you are satisfied that the stock take is complete, pressing the ‘Finish’ button will produce a pop-up;
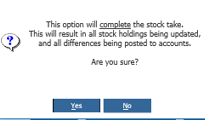
If you’re not sure, pressing ‘No’ will take you back to the variance report for more editing. If you are sure, pressing ‘Yes’ will complete the stock take and it is only at this point that any differences will be posted to the stock take nominal specified in the parts parameters, part stock holdings are updated and the final valuation report will be printed.