Select the Purchase Ledger Payments option from the cashbook payments menu. Complete the Cash Book Payment details screen with the banking date and double click on the required bank account.
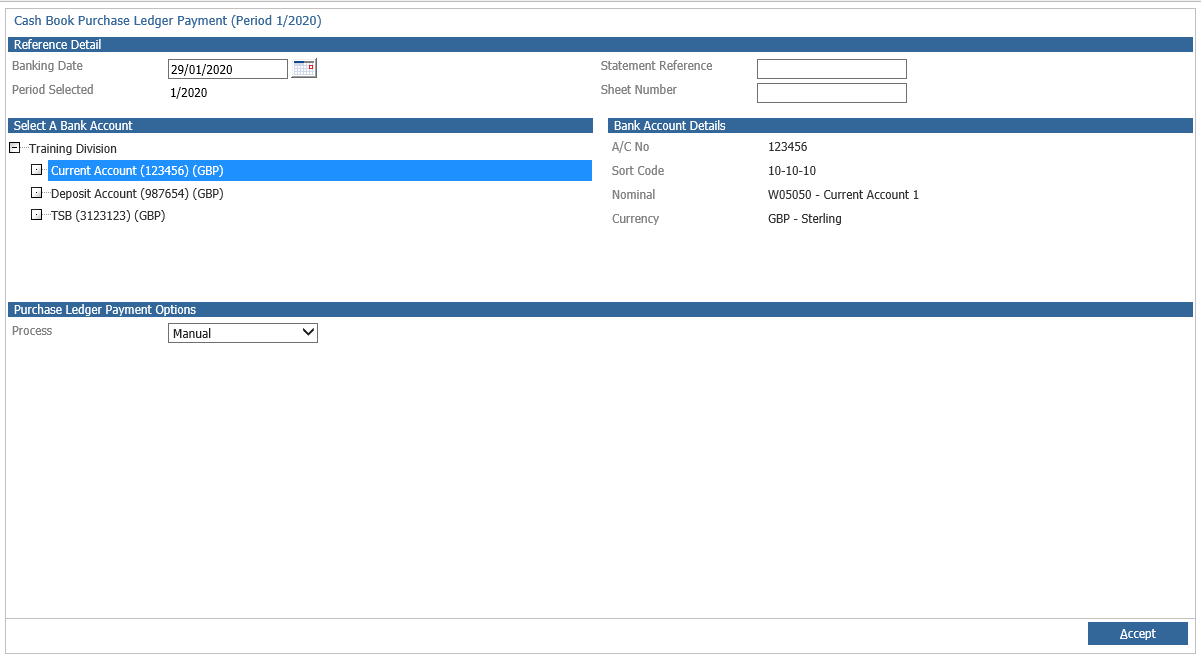
Ensure the ‘Manual Payments’ option is selected and click ‘OK’ to continue
Click ‘Accept’ to continue.
Search for the supplier to be paid and confirm that the selected account is correct.

The items to be paid can be selected from one of the four following options: -

Total Account Balance – will post a payment for the current balance less any logged or queried invoices. The payment will be automatically allocated against the outstanding transactions once the transaction is accepted. The banking date will default to the current date but can be changed to any date within the selected accounting period. Click ‘Confirm’ to continue.
Enter the cheque number and click ‘Accept’. A pop up screen will appear to confirm the payment.
Click ‘Yes’ to continue or ‘No’ to cancel the payment. Click ‘Yes’ to return to the account code selection screen to make the next payment.

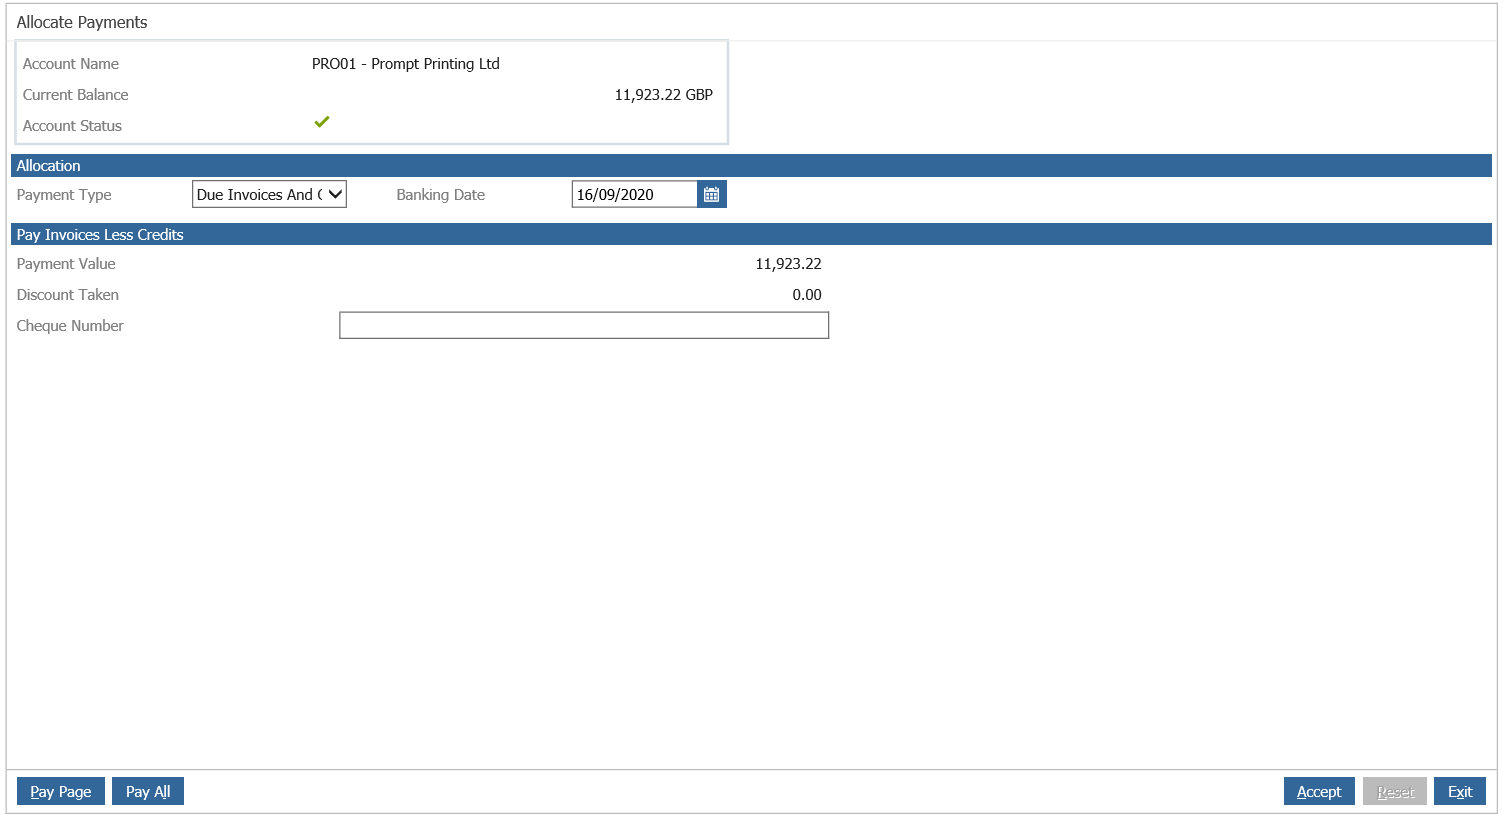
Due Invoices And Credits – will make a payment equal to the value of all due invoices less any credit notes. Logged, queried and invoices that have not reached their due date, based on settlement terms and payment schedule held against the supplier account, will not be paid. The banking date defaults to the current date but can be changed to any date within the selected accounting period. Click ‘Confirm’ to continue.
Enter the cheque number and click ‘Accept’. A pop up screen will appear to confirm the payment.
Click ‘Yes’ to continue or ‘No’ to cancel the payment. Click ‘Yes’ to return to the account code selection screen to make the next payment.
Selected Items – this is the default setting and displays a list of all transactions against the account where individual items are selected for payment. Any difference between the payment value and the invoice value is automatically taken as a discount posting to the discount taken nominal code held within the accounting group attached to the supplier. A part payment cannot be made. The banking date defaults to the current date but can be changed to any date within the selected accounting period. Click ‘Confirm’ to continue.
Click on the tick box to select the items to pay. If a discounted amount is paid against an invoice, click into the payment column against the selected invoice and enter the payment amount against the transaction. The difference appears in the discount column.
To select all the transactions on the account in one go, click ‘Pay All’. To select all the transactions on the current page in one go, click ‘Pay Page’. To de-select all the previously selected transactions and start again, click ‘Reset’. To de-select an individual transaction, double click on it and a pop up screen will appear to confirm the cancellation of the allocation.
Click ‘Yes’ to cancel the allocation.
To delete all the allocations and cancel the payment completely, click ‘Cancel’. A confirmation pop up screen appears.
Click ‘Yes’ to continue.
To save the allocations for up to three days and suspend the completion of the payment, click ‘Exit’. A confirmation pop up screen will appear.
Click ‘Yes’ to continue. This locks the account and the person who had been processing the payment on the account needs to go back into the cashbook payment routine for this account to unlock it.
Click ‘Accept’ to complete the payment. Enter the cheque number in the pop up screen.
Click ‘Next’ to complete the posting and to return to the account selection screen for the next manual payment.

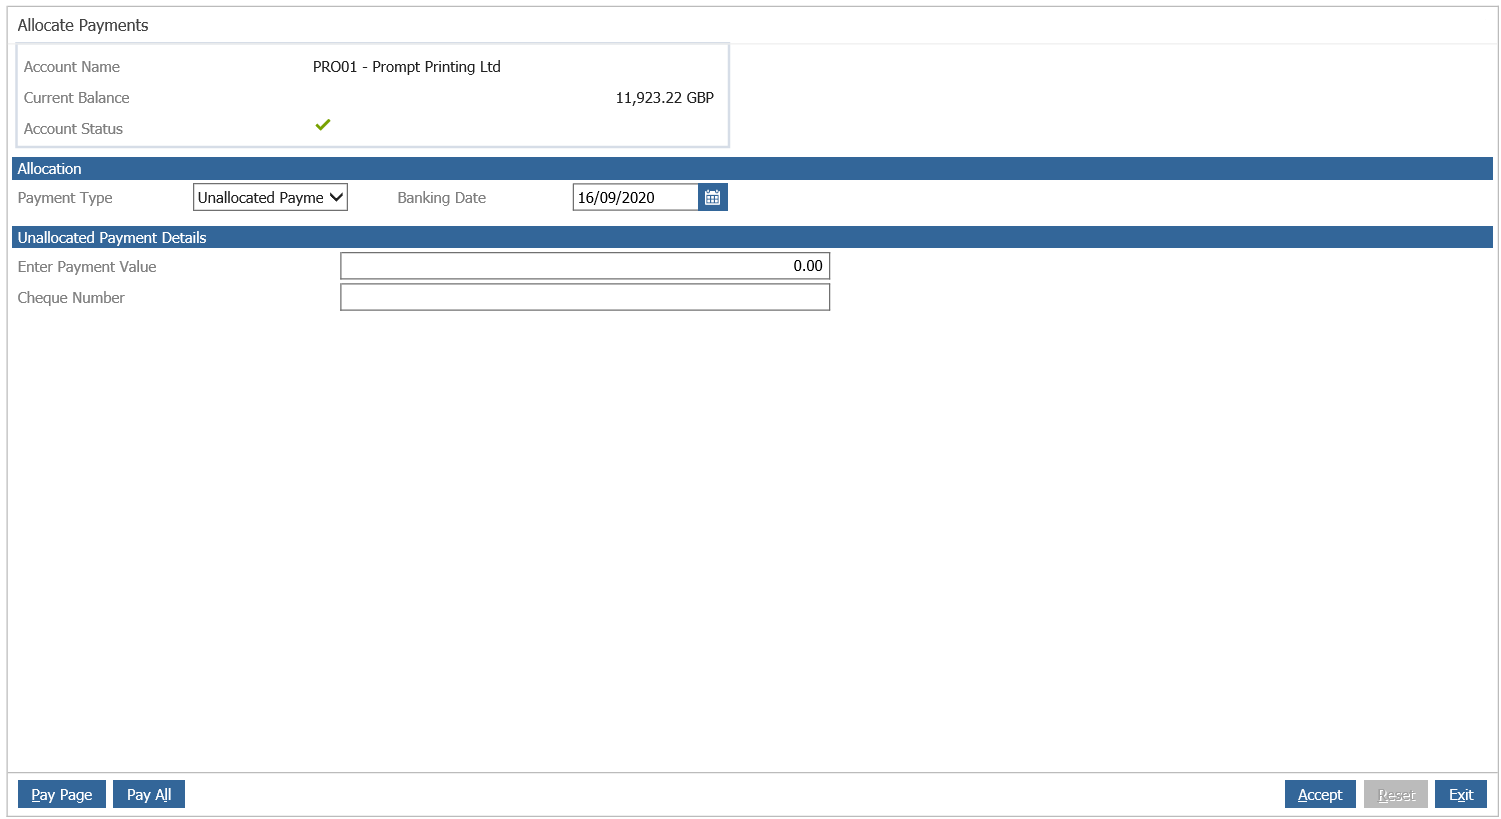
Unallocated Payments – is used to post a payment for an invoice that has not yet been posted to the Purchase Ledger account.
Search for the purchase ledger account to post the payment to. Select the ‘Unallocated Payments’ option. The banking date defaults to the current date but can be changed to any date within the selected accounting period. Click ‘Confirm’ to continue.
Enter the unallocated payment value and the cheque number and click ‘Accept’.
Click ‘Yes’ to confirm the payment and return to the account selection screen.